Simultaneous sewing

I generally like to only work on one project at a time, but sometimes, for ease of tracing or bulk-cutting, or because (heaven forbid!) I run out of some necessary supply, I end up working on multiple projects at once. For me, this road is the way to Unfinished Objects (UFOs), and a treacherous one to travel down.

Far, far more frequently, though, I get a posting backlog so it just appears as though I’m working on a few things at once!

So right now, my tally is…

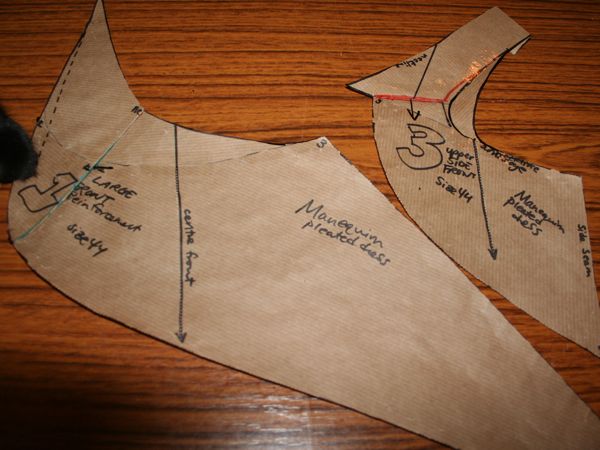
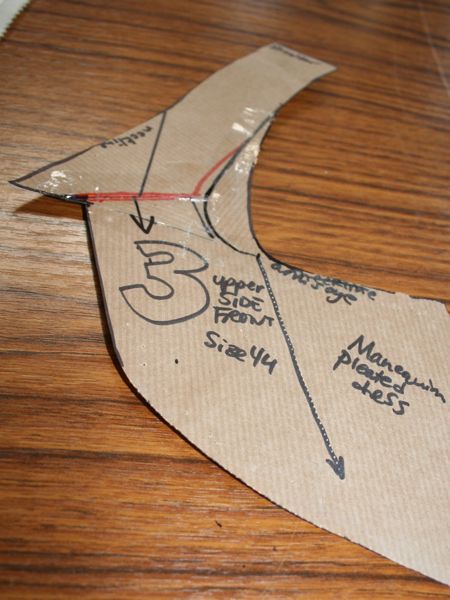
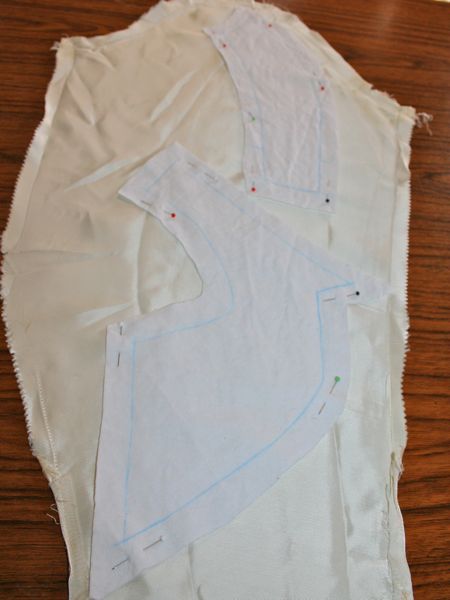
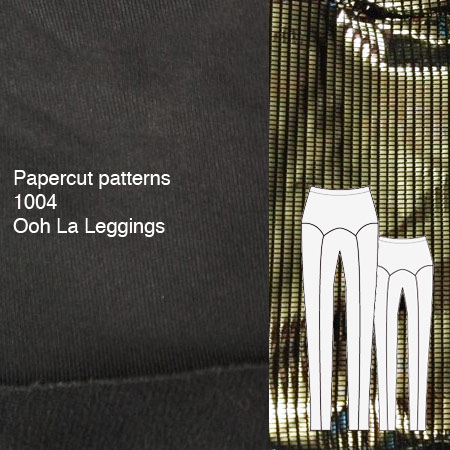
The Disco top and leggings

I posted about the leggings in December and the top last week, but I owe you a proper photoshoot for both!

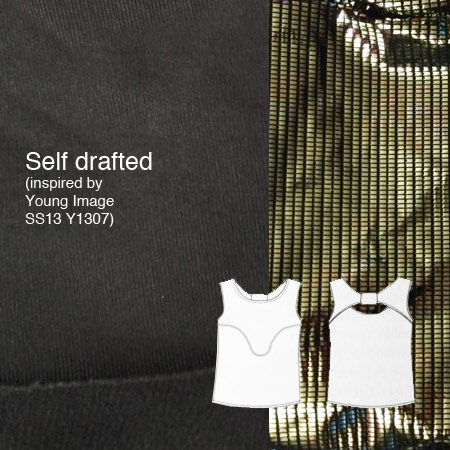
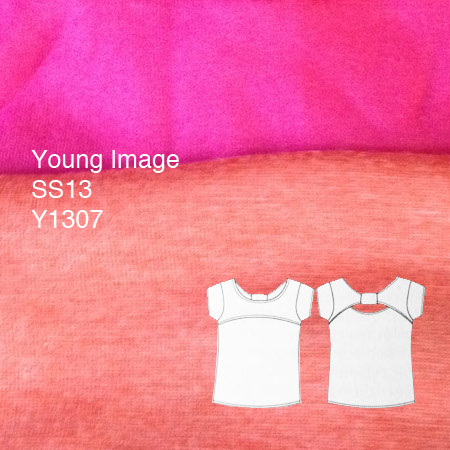
The pink and orange tie-back top

I can’t talk too much about this one here because my niece reads the site, but this one has been finished for a few weeks, and I’ll get some photos of her wearing it when I’m over in the States after Easter.

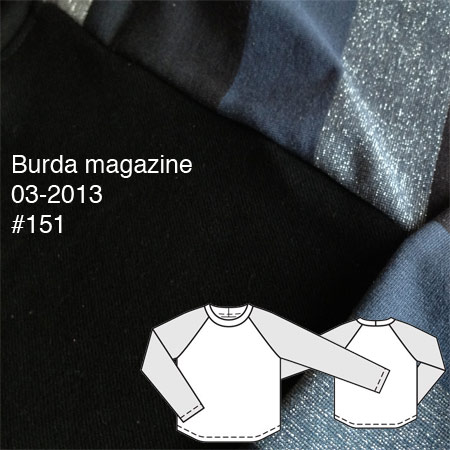
The striped raglan tee

This is new-to-you, but I’ve also sewed a top for my nephew to give at the same time. I just finished this one this weekend, and I’ll also get photos of him wearing it when I’m in the States.

Long weekend progress update

For all of you in the US and UK who enjoyed a lovely long weekend, I salute you! I made the decision to devote the bulk of my four days to upgrading/migrating this site over to a new backend, and it was exactly as painful as I was expecting (and it’s not done yet). I’ve been wanting to for quite a few months now, but I just kept putting it off for all sorts of tech headache reasons, and I was right to! It took no less than 3 server moves with my web host to find a server that could support both the old and new platforms simultaneously during the transition period, then a bunch of setting conflicts, frantic forum searching, and then finally data munging all 1,036 posts, over 10,000 images, and a ridiculous amount of tags over in a way that broke the least amount of stuff. Which meant that I didn’t get to the actual appearance of it until late on Sunday, and it still needs a few more days work before I can start the fun 403 redirect process, yay! So until then you’ll still see the old site, and I’m going to do my best to redirect all the RSS for those of you who subscribe in your favourite reader, too!

This meant that I was mostly behind the computer (or a barbecue!) this weekend without much happening in my sewing room. But I’d been awaiting the arrival of a re-up on bear fabric (which I honestly didn’t think would arrive in time, but it did!!), so I whipped up a pair of bear shorts for the Transylvanian Bear Race on Friday while a large ftp process occupied my computer. I used my Steeplechase Leggings pattern (Biker short length), using two different Spoonflower bear prints for the body and yoke. I’ll do a full post on these after the race, but here’s a sneak peek from my test run in them on Sunday (because Nothing New On Race Day, folks!)

Coming soon: The Surf to Summit Top pattern

My next sewing pattern is very nearly ready to release, so it’s high time I gave you a pre-release look at what I’ve been slaving over the past few months, right? I’ve been dropping hints all over, but this pattern will be released simultaneously for women and men for the first time ever! I’ve been wanting to release menswear patterns since the very beginning and I’m super proud that my first is such a versatile one, too.

My official description is:
A top with long or short raglan sleeves with optional sleeve mitts, tall integral collar to keep your neck covered, princess seams with side panel, and your choice of two hem lengths. An optional half zip and back cycling-style pocket are also included.


Click any image to make it bigger!

This one’s called “Surf to Summit” because with all the optional extras, you really can wear it for surfing, running, cycling, and skiing or snowboarding, as well as just as a regular casualwear base layer, too.

The men’s version has the same style lines and optional extras, but has a completely separate draft, with a straighter cut which a lot of men tend to favour over the ultra slim-fitting fitness tops.

My refashioned Paris race tee

As I mentioned earlier this week, one of the projects I wanted to work on was refashioning the free (but too large) shirt given out at the Paris half marathon a few weekends ago. Pretty much every race these days gives out a shirt, and usually they’re in nice wicking fabrics, but very rarely are they nicely designed, or vests. I prefer to run in vests instead of teeshirts (even if I’m wearing a jacket over top), so after I finished sewing my mom’s latest chic sweatshirt, I set to work on the race tee.

Here’s a “Before” shot, with my friend Daniel holding up his at the race expo (this is the “Medium”, but it’s massive, like a men’s large!)

I really like the Paris logo, so I wanted to keep that on the front, but I didn’t care about the adidas stripes on the sleeves or “boost” on the upper back (the new shoe they’re promoting). So the first step was to carefully cut along the sides of the shirt and sleeves, so I could lay the shirt out, folded along the centre front and centre back and pin my (self drafted but based on the Kristina Shin sloper) vest pattern pieces down:

I then cut the pieces out, with seam allowances at the sides and shoulders, but none at the neck and arm edges, since I planned to bind those with some of the black technical strips I used with the disco running top.

These were the only bits of the shirt I didn’t use!

First step is to use my little pizza wheel measuring device along the bound edges to work out what length strips I need…


I caught my mistake before binding – the neckline length needs doubling, as I measured both on the fold!

Bridal bodice – Prepping the pieces

I finally got the muslin fixed and finished! Thanks for all your advice, though I haven’t had a chance to reply to hardly any of you, for which I do apologise…

Muslin #3 changes –

  1. Unpinned the shoulder change, took off the waist stay, and since it seemed to be pulling everything upwards before, I reasoned that it must be too low. I repinned it a little higher and everything seemed to sit nicely and correct those weird problems it threw up before.
  2. I’ve said it before but I’ll say it again – I detest Rigilene boning! Only someone who hates women could’ve come up with those tiny, needle-like implements of torture. My spiral steel boning for the finished dress arrived and it just feels wonderful.
  3. No one actually came up with the fix I needed for piece #3’s weird bubble. As it turns out I just needed to flatten the curve a bit below the inset corner. (Before and After are below)
  4. There’s no way I’m muslining the skirt. It’d literally take a whole week of sewing time to even approximate the panels on the existing skirt, plus the drape and weight of the muslin fabric is totally different, and it won’t achieve much of anything I won’t learn in the actual skirt attachment anyway. End of story.
  5. Yes, I know about wearing proper undergarments. I’ve been wearing the bra I intend to wear on the day all along (though I got sharpie on it during my muslin marking process so I need to buy another copy of it, boo.). I was not being serious about the push up bra.

So with the muslin done, on with the dress itself!! Hurrah!

First step was to lay the pattern pieces onto the wrong side of my flannel underlining, fuzzy side down (I’d been transferring all my changes onto them and I prefer paper with no seam allowances over muslin with allowances). Once pinned in place, I then chalked the seam lines, waist, centre back and fronts, and the two notches onto it. Then I cut out the pieces with eyeballed seam allowances (when you’re dealing with seamlines, the size of the allowances are largely unimportant).

Next I laid the flannel pieces onto the wrong side of the satin, pinning only in the seam allowances because all the pin holes show on this fabric.

A wool coat in July?!?

I’ve been planning on sewing myself a new winter coat for a while now, and I’ve been lurking on Marji’s Great Coat Sew Along site (currently members-only) for a bit, but after I saw her timeline, I finally realised I can jump right in and sew this alongside all my other summer sewing! So the month of May is where we’ll be gathering supplies, then doing muslin fitting in June, and finally starting the coat construction in July in order to hopefully finish in September.

The more I thought about it, the more I felt confident I could stick to that schedule, and now our renovation plans are looking likely to include the demolition of my temporary sewing room in the fall (to make way for our bedrooms and our lounge) so I may not have a place to sew my coat if I wait any longer!

As you know, I’ve already bought my exterior fabric – some gorgeous charcoal grey, 100% wool coating fabric from Rosenberg’s.