Temporary sewing

While our boat is in drydock for maintenance, we’re temporarily living on a very kind neighbour’s boat. Packing for a month (though possibly 2 weeks) was a challenge in itself, as you want to to give yourself choices (in clothing, entertainment, comforts, and cooking), but yet you’ve still got to physically move everything, so you don’t want to overpack, either.

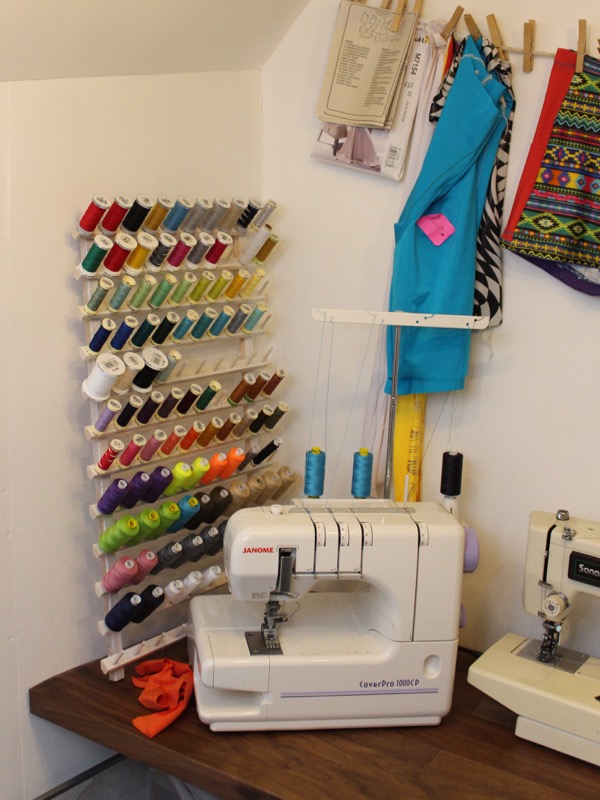
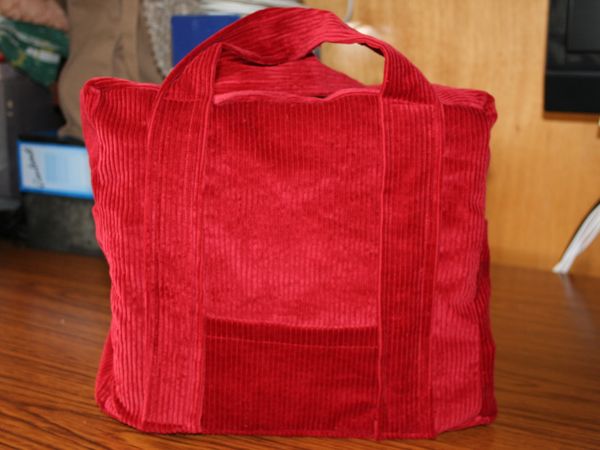
I brought the bare minimum of sewing supplies, which for me means my JL Mini sewing machine, which is great for travel and beginners alike (speaking of, I have a friend who’s selling her identical red JL Mini as she’s upgraded to a fuller-featured machine. If anyone’s interested in buying it from her for £30, please leave a comment and I’ll put you in touch!).

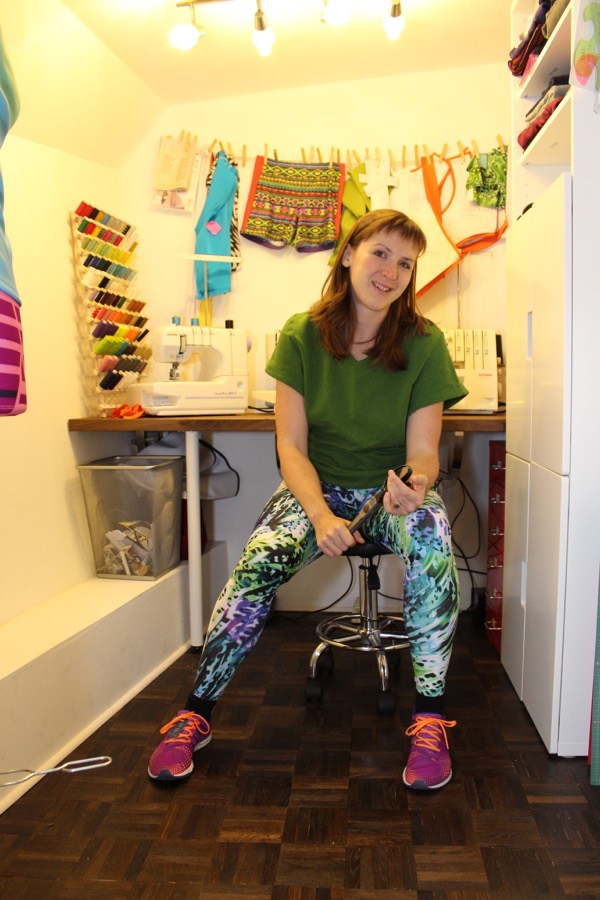
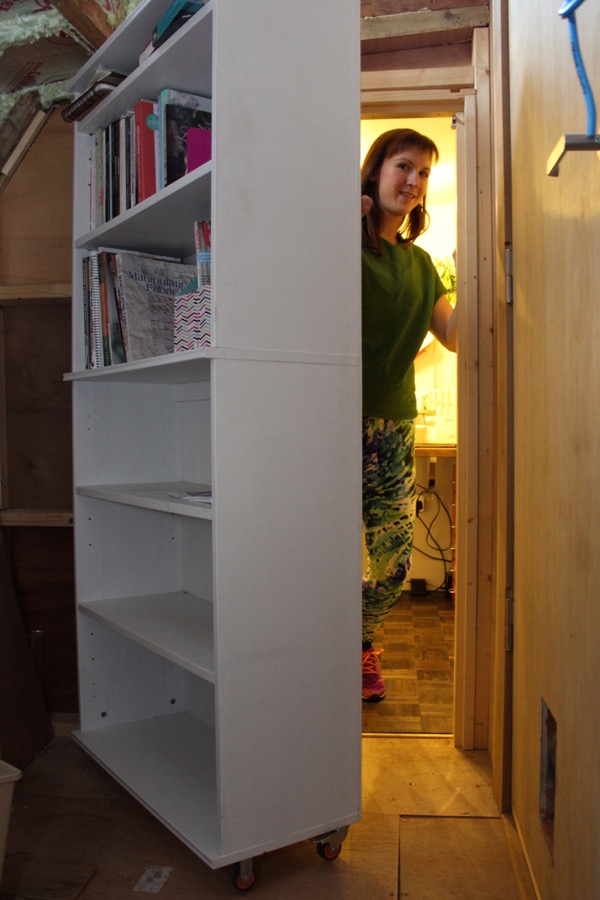
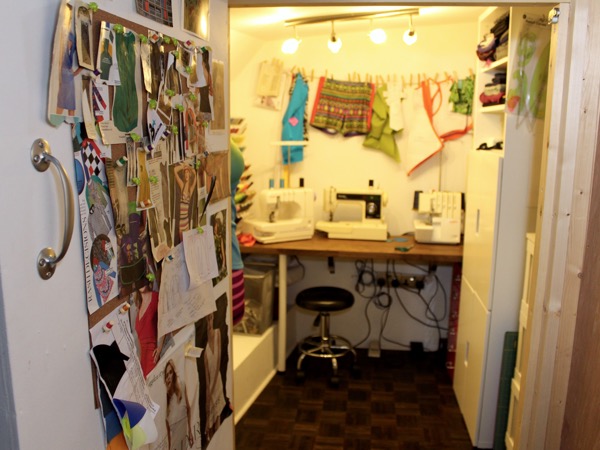
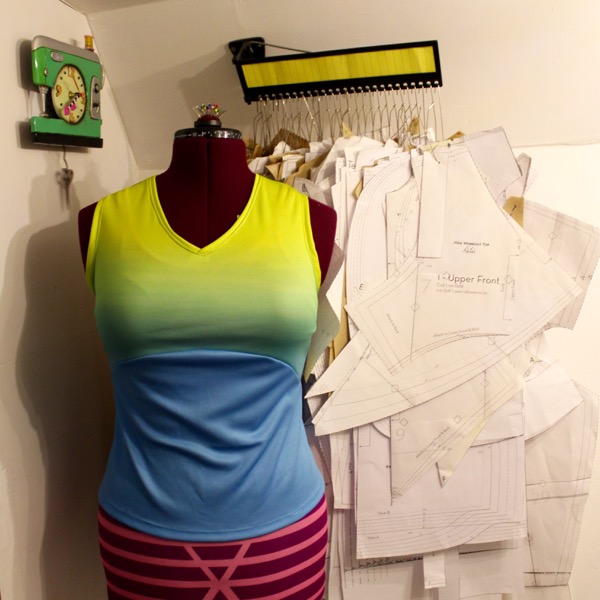
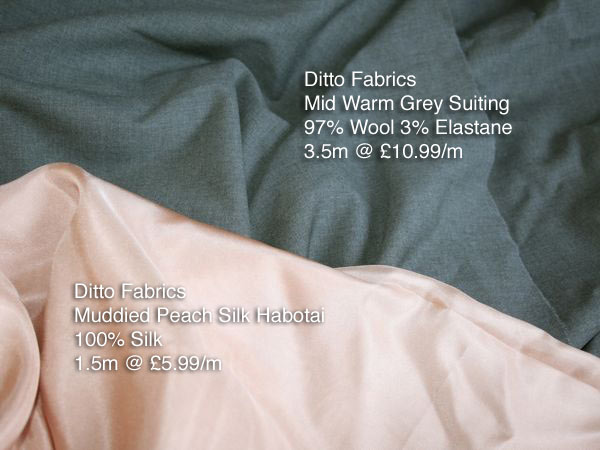
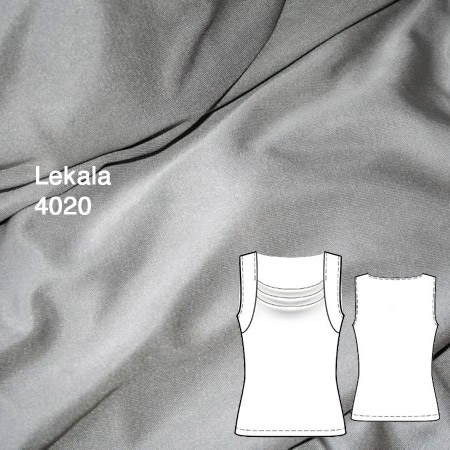
I also brought a few patterns and the fabrics to go with them, and I set up a temporary sewing station in the bedroom we’re staying in:

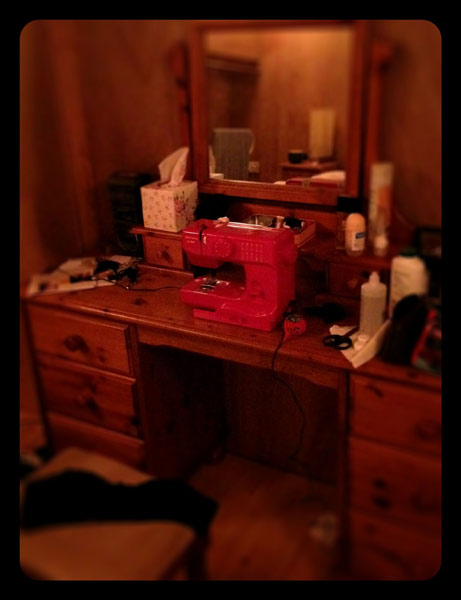
I thought it was quite amusing that the only place in the boat that was suitable for sitting and sewing was a pretty dressing table, and my boudoir sewing station inspired me to start one of my transported projects last weekend – another Ruby Slip!

My first Ruby Slip was seafoam green with brick red lace and I loved it so much that I knew I’d be making another. If you missed the discussion then, Sherry offered a free pdf pattern and fantastic photo tutorials, which I highly recommend, even for beginners, as it’s beautiful and quite easy to sew (especially if you choose a thin cotton lawn).

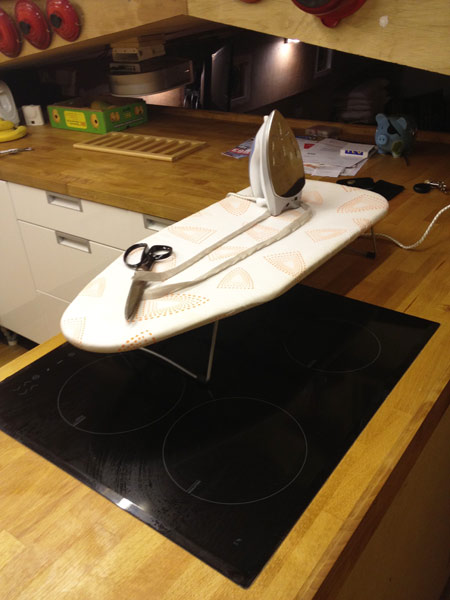
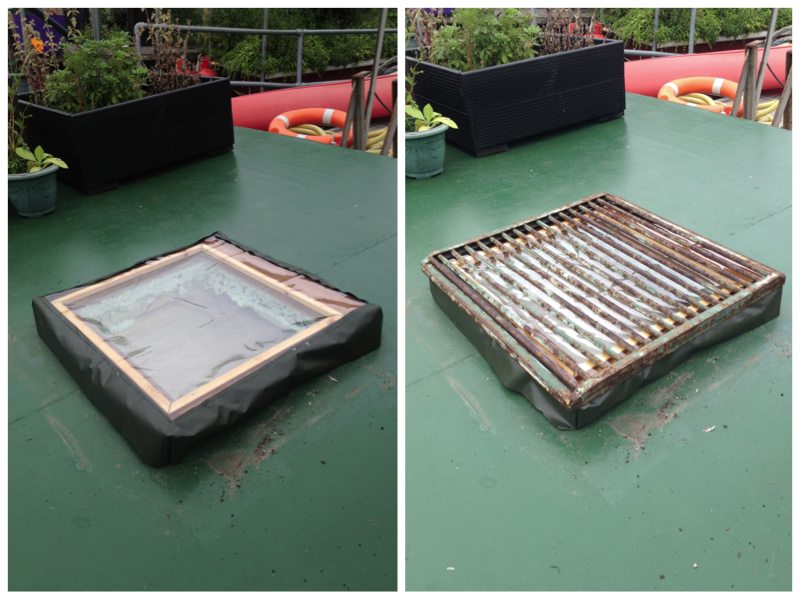
To match my sewing station, I set up a pressing station in the kitchen, with a travel iron and mini ironing board which live on the boat.

The Sewing Weekender Number 3

No sooner were we back home from Iceland than I was on my way up to Cambridge for my third Sewing Weekender! The first year I was lucky enough to buy a ticket, then last year I gave my “Sewing for Movement” talk as a speaker, but this year I was determined to attend again and set my alarm in order to buy my ticket as soon as they went on sale.

No joke, these tickets were hotter than Glastonbury – we crashed The Fold Line’s site and tickets sold out in like ten minutes despite having doubled capacity this year to 100 places!

Sewing Activewear Without a Serger

One of the biggest misconceptions about sewing your own activewear seems to be that you need to have a serger/overlocker to do so. Even people who don’t sew end up asking me about this immediately after they find out what I do, and it’s just not true! You really can make sturdy and functional activewear even if you just have a regular sewing machine, and there’s no better time to get started than right now!

On my stall at the Great British Sewing Bee Live show last September I had a list of about ten different activewear techniques I was ready to demonstrate to visitors. I showed a fair few how to do the basic three elastic edge finishes, but I pretty just spent all my time showing people how easy to is to sew basic activewear seams using a regular sewing machine – over and over again!

A tour of my new sewing room!

I know I’ve been talking about my new sewing room for ages (and believe me, it feels like even longer to me!) but I’m finally moved in and so chuffed to finally share it with you!

My new sewing room is very small, but what it lacks in size, it more than makes up for in cool points – who else has a sewing room on a boat, concealed behind a hidden bookcase door, eh??

This is the bit everyone loves – a modified Hemnes bookcase from Ikea, with reinforcements, casters (wheels), and a hidden pull latch to keep it closed. Our joiner is a genius and we’re so lucky to have found him!! The greatest thing about this is that my sewing room is at the very end of the corridor, and the way the various deck heights work means there’s a porthole just above the bookcase. So it really does look convincing, like there’s no boat beyond it!!

Once inside, I’ve put a corkboard on the inside of the door as a place to pin all my magazine clippings, sketches of designs past and present, and general mood-boardy stuff. You can also see how small the room is here – it’s only a little under 2m (6 feet) long by 2m wide at its widest point.

Also take note of the smoked oak parquet floor that I painstakingly cut, laid, sanded, and hand oiled myself. Loooouuuurve my floor! It was expensive, both in cost and effort, but so worth it.

When you enter the room, immediately on your left you’ll find Susan, my dressform (seen here wearing my Laurie King fabric collaboration VNA Top pattern), and my pattern rack, which I’ve had for quite a few years but came from the garment industry supply shop, Morplan. As you can see from the number of patterns on it, I find it unbelievably useful! Also note the cute sewing machine clock my mom sent over to me!

A Big Weekend for Sewing

I had an uncharacteristic free weekend – no races and not much planned, so I ended up getting lots of sewing bits done!

Sewing room clear-out

I’ve only got a small (temporary) sewing cave, and I’m a very tidy, organised person, but I’d let it get a little messy and it was feeling crowded, so after my two hour hill run on Saturday morning, I came back and had a bit of a clear out. I filled a full black bag with rubbish, but here’s what I pulled aside to swap at the Goldhawk Road meetup on Saturday!

Yes, you could be a good home to some pattern, pattern magazines, books, craft kits, or fabric that once lived on board! Now, if I can manage to be good and not fill up the space with things I pick up in the swap or fabric stores…

Skylight cover

Remember the last time I made a skylight cover (strangely, I see last time I was sewing jeans alongside it, too!)? I’d only ever made them for the back cabin, where the skylights are peaked, with windows that open like wings, but on the front deck, the skylights are flat and require grills that fit overtop for safety and security.

We had a joiner make a gorgeous new cover for the skylight over our bedroom, but it’s been shamefully covered in tarpaulins for the last few months while I procrastinated swearing my way through sewing another.

Even with a walking foot, the clear plastic is a total P-I-T-A to sew because it sticks to the machine bed, the foot, is stiff and rams into everything, and is generally just awful.

This time around, I got so sick of the stickiness that I grabbed a “newspaper” (tabloid left from our joiner) and ripped off pieces to go underneath and also under the presser foot.

This surprisingly worked rather well, and the newspaper just rips out easily afterwards. Worth remembering if a) you don’t mind newsprint on your fabrics, and b) like me, you never have tissue paper lying around

It’s not my best work, but it’s done and will allow more light into our new bedroom!

Jeans muslin

If you recall, I decided on a Burda pattern for my non-stretch denim so I sewed up a quick muslin of that on Saturday after my skylight triumph.

The triumph was short-lived.

Upcoming Fall 2011 sewing – the fabric

I posted about my Fall sewing pattern plans weeks ago, but I never quite got around to showing off my lovely Fall fabrics at the same time, and then I went and bought a little more since I sewed through enough of my stash over the past year to make space for more.

Indeed, the first two fabrics were bought long enough ago from the superlative Ditto Fabrics that I’ve actually already used them!

This grey stretch wool suiting is finding a life in my Draped Jacket and Skirt Suit you’ve heard so much about lately, and I’m sure you remember this peach silk habotai from my recent blouse, right?

Well, the day after I bought the above from Ditto’s website, we determined I’d actually be going down to Brighton later that week, so I stopped into their store on the Saturday morning and picked up two more fabrics (along with a good gossip with Ditto’s lovely owner, Gil!).

Red JL Mini sewing machine bag

I’m so enamoured with my new tiny red sewing machine that I decided to use my time at the moorings crafty night on Monday to sew up a travelling case for it so I didn’t have to lug the box and styrofoam everywhere. There’s something almost perverse in using a sewing machine to create its own case, though. It just feels a bit cannibalistic somehow…

Anyway, I drew up some plans based on its measurements, and did a few calculations:

And then when I got to my neighbour’s boat I plugged it in, chopped up some spare red corduroy, and had a nice carrying case for it by the end of the evening (in amongst the traditional crisp and cake eating, of course).

A wool coat in July?!?

I’ve been planning on sewing myself a new winter coat for a while now, and I’ve been lurking on Marji’s Great Coat Sew Along site (currently members-only) for a bit, but after I saw her timeline, I finally realised I can jump right in and sew this alongside all my other summer sewing! So the month of May is where we’ll be gathering supplies, then doing muslin fitting in June, and finally starting the coat construction in July in order to hopefully finish in September.

The more I thought about it, the more I felt confident I could stick to that schedule, and now our renovation plans are looking likely to include the demolition of my temporary sewing room in the fall (to make way for our bedrooms and our lounge) so I may not have a place to sew my coat if I wait any longer!

As you know, I’ve already bought my exterior fabric – some gorgeous charcoal grey, 100% wool coating fabric from Rosenberg’s.

I'm currently excited about…

My turquoise and silver motif dress is nearly done (check out the fantastic lace hem tape I found in my stash to pretty-fy my hem, too!), but it doesn’t stop me thinking ahead…

  • Lekala 4020 – My brain needs a quick knit top, and I looooove the cowl neck and shoulder yokes on this. I’ve created echoing sleeve bands on the back to decrease the “coffin back” look (the only reason I haven’t made their “S dress” yet is that I’m contemplating how to jazz up the back on it. Any ideas?). I’ve got some small lengths of silver silk jersey left in my stash that I think will find a good home in this top.

    Even better is that they’ve got every pattern available in a free size 44 pdf this month if you want to try them free before you do the custom-size thing!

  • A foam cup braOMG I am amazingly excited to learn there’s a pattern out now for making the type of bras I buy in RTW with the moulded, foam cups! It’s the Pin Up Girls “Amanda” bra pattern. I’ve made bras before, but I’ve never been happy with the fit, and I think that half my problem is that I’m trying to sew the kind of bras I never actually buy…

    I had an email chat with the lovely Kellie, owner of The Sewing Chest shop (the best UK source of elastic and boning and lingerie fabrics, hands down!), and I’m now totally excited about sewing bras again. She’s advised me to put some of her foam cups onto the non-cup parts of the KwikSew 3300 bra I’ve made before, and see how that goes. She’s also advised me to use a different underwire size, too. Fingers crossed for bra success!

The Sweatshirt of Impatience

You’ve heard of the Bluebird of Happiness, right? Well, this is my Sweatshirt of Impatience. It’s not the sweatshirt’s fault that I got a bit over-eager and impatient to finish it and wear it out, and everything can be fixed, but seriously, this would’ve been properly finished sooner if I hadn’t been so impatient.

I’ll save the construction details and pattern changes for the full, finished roundup, but let’s take a little time now to go through the lessons I’ve learned here.