We recently spent a week down in our favourite corner of Cornwall, but instead of staying with friends, we ended up renting a house for the week. J worked at a local coworking centre for a few days (The Workshed in Liskeard – highly recommend! Friendly, great space, super affordable, and extremely safe air quality!), but as I’m still on sick leave with Long Covid, I’d be alone in the house for three days.
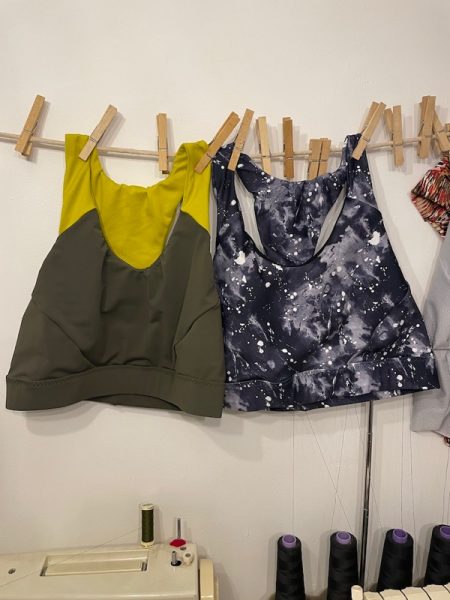
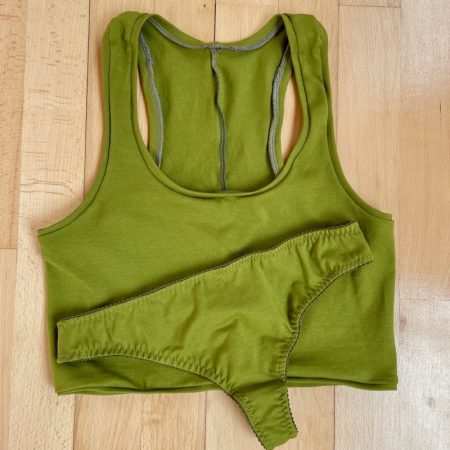
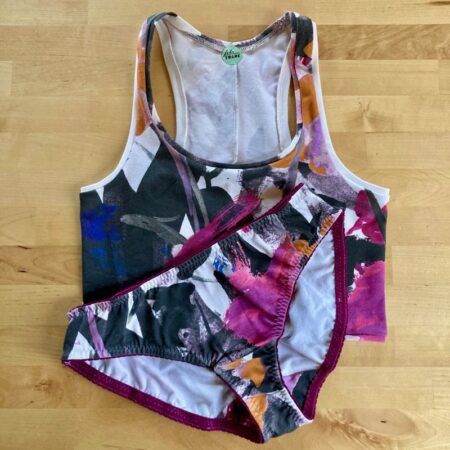
For some this might seem boring but to be honest I was really looking forward to the quiet, and it gave me an opportunity to bring my JL Mini (which John Lewis no longer makes! Boo!) travel sewing machine along and do some sewing while I was there.