How to sew a narrow bias edge

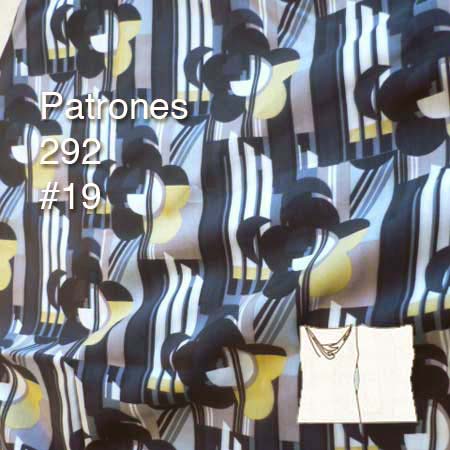
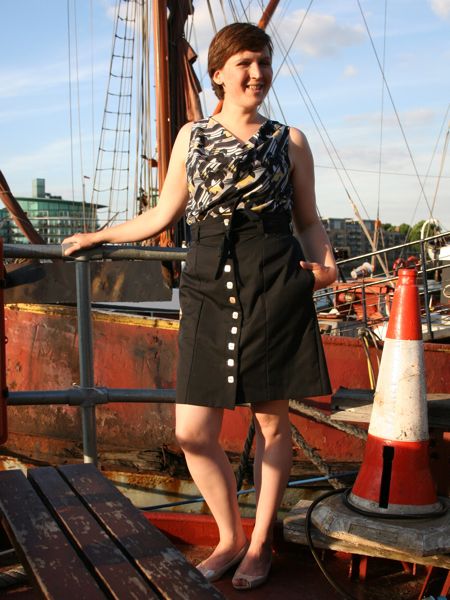
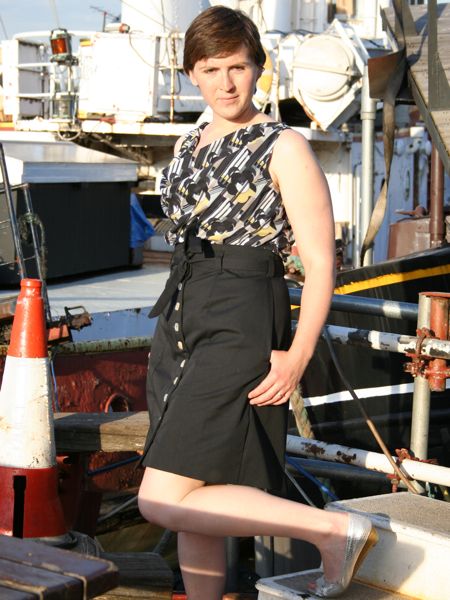
I had a busy yet productive weekend – not only did I finish my Colette Patterns Beignet skirt, but I also made the Patrones 292 sleeveless bias cowl top, too! I didn’t have enough time for a photoshoot over the weekend, but I did remember to finally document my favourite way of finishing the edges of thin blouses like the cowl top so I can finally share this with you.

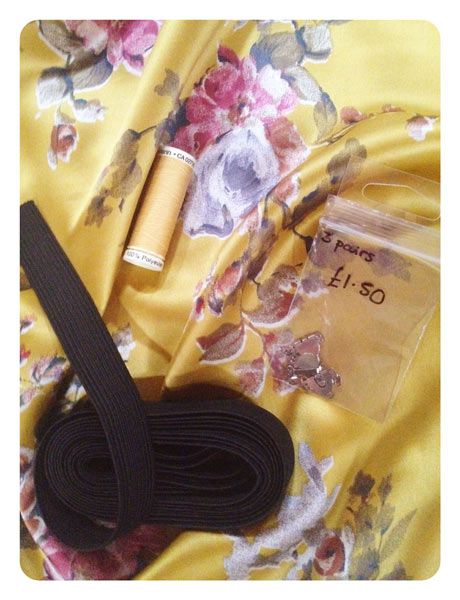
This technique is great for necklines and armscyes on sleeveless tops, and is my preferred way to finish any kind of blousey, lightweight fabrics like silk satins and the viscose (rayon) you see here. You get a thin, finished edge that looks good inside and out with a minimum of fuss, and you don’t have that awkward problem of facings flipping out or anything, either. As long as you’re okay with a small amount of topstitching on the right side, this is the technique for you…

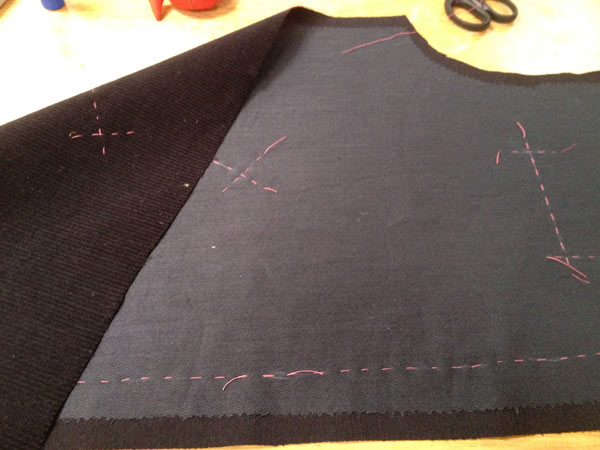
So before we begin, sew one of your seams so you’ve got a C-shape. If you’re finishing a neckline, this means you sew one of the shoulder seams. I’m finishing the armscye of a sleeveless blouse here, so in this case I’m sewing both shoulder seams, leaving the side seams free.

Step 1


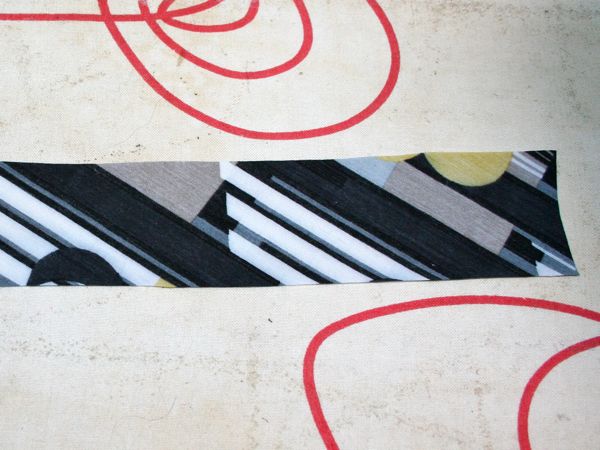
Cut out a bias strip that’s the length of your opening edge, plus a few centimetres just to be sure. For the width, I prefer a finished facing of just 1cm, so my width here is 1cm + (2× 1.5cm seam allowances) = 4cm.

Sewing the Cos “Made By You” Women’s Shirt

Earlier this week I showed you my finished version of the Cos “Made By You” women’s shirt kit with the promise of giving far, far more details on the kit itself and some construction instructions so strap on in! This is a HEFTY brain dump intended to help others who’ve bought this thinking they were getting a full sewing pattern, or who bought it and no longer have Cos’s video online to help. Or frankly, if you’re just intrigued about what a high street shop thinks a home sewing product should be!

My bias silk 40th birthday gown

Happy 40th birthday to me! Since it’s a big birthday year I kinda felt like I just had to celebrate big, too! So we rented the whole of a private members cocktail bar near Kings Cross, invited a bunch of people, laid on pizzas, and let the rest just happen! Every year I like to make myself something special to celebrate my birthday, and I felt like I should sew a big, glamorous dress for myself to feel like a total star at the party, too.

I happened to have four meters of gorgeous copper-coloured silk satin (charmeuse) in my stash which I’d bought from Truro Fabrics back in 2015 with the intention of sewing a gown for the World Transplant Games gala dinner in Argentina. But I didn’t quite have enough time to sew it before we left, and the silk has been in my stash ever since. I still had the receipt in with the fabric, too, and the price reflects the incredible quality of this silk – I’d paid about £75 for it.

A floral bias top

Happy Friday everyone! I like to buy souvenir fabric whenever I’m travelling, and when I was in Malaga last summer competing in the World Transplant Games I bought one meter of a lovely floral poly satin at a fabric shop we stumbled across in the centre of town.

I’m not usually a floral woman but this digital print really spoke to me for some reason, and now that the weather has warmed up it felt right to cut into it – and what better way to showcase the beautiful photo print than with a little bias top pattern I’d already tested? So I pulled out Burda 6501, which I’d made last summer in a viscose print and worn loads since.

The “Sew Your Own Activewear” Split Shorts

Let’s pretend we’re in summer and talk about the Split Shorts design from my “Sew Your Own Activewear” book this week! I really wanted to make sure the book included designs for all four seasons and as a runner myself, I know the perils of finding a pair of running shorts that don’t ride up as you move.

It took me months and months of development work to come up with our Threshold Shorts pattern, so I took my learnings from that and designed a pair of shorts for the book which have an almost infinite amount of movement in the front leg and won’t restrict movement or ride up in the inner thigh (a very common problem with RTW running shorts and retro “athleisure” designs). During early development these were called the “Petal Shorts” as the overlapping front pieces look like the petals of a flower, but ultimately “Split Shorts” won out as it’s more descriptive of the design!

Elastic edges three ways

Today I’d like to show you how you can change up the look of your “Sew Your Own Activewear” Vest Top by simply changing the way you finish off the neckline and armhole edges. Elastic edges are super important in activewear as they hold the fabric close to the body, reducing the risk of chafing, but also making it less likely to get caught on things (a real safety risk when climbing!), or exposing yourself accidentally (hello downward dog!), and also to keep contents from falling out of your pockets, too.

These methods are great ones to have in your sewing skillset as you can also use them on the Crop Top (which we’ll be looking at more next week!) as well as my XYT Workout Top pattern. All three of these methods can be done on your basic sewing machine, and once you get the hang of them, you’ll find all sorts of uses!

Brighton & Bank holiday sewing

We had a long weekend here in the UK this weekend, and I’m pleased to report that I made the most of it! On Saturday, James and I made an impromptu trip down to Brighton, and we stopped off at Lewes on the way down. Our main objective in Lewes is always the Harveys Brewery shop, but I also discovered The Stitchery just across the road upstairs in the Riverside Centre, which stocks a wide variety of fabrics, embroidery floss, yarn, and haberdashery. I checked my handy “sewing shopping list” on my phone, and bought black waistband elastic and trouser hooks, both of which I needed. Very sensible of me, I know.

But the real temptation was walking right past Ditto in the North Laines in Brighton, and I told myself I was only allowed to buy ONE fabric there, so it’d better be a good one! In the end, this gorgeous butter yellow floral silk charmeuse won out over a similar yellow coloured, textured, ex-Blumarine crepe.

Florals really aren’t my usual fabric choice (and I would’ve never bought it from the terrible photo on Ditto’s site), but in real life, I was just captivated by it, and I’m thinking I’ll need to pair it with some edgier like jeans or my leather skirt to diffuse the twee-ness.

After our big day on Saturday, on Sunday we didn’t leave the boat at all! I spent most of the day doing sewing stuff, starting off with fusing all the interfacing onto James’s reversible smoking jacket pieces. I find fusing interfacing to be really boring at the best of times, but it’s beyond teeeeedious with a mini ironing board and mini iron! Once that was all fused, I then moved on to hand basting all the pocket placements (it’s a fantasy jacket, so there are five pockets!) and then basted the bound buttonhole placements, too.

Black Beignet skirt and a bias cowl top

It feels like I’ve been talking about sewing the Colette Patterns Beignet skirt for ages now, but it’s mostly because I’ve just been so busy with life (running, socialising, wedding planning, the boat, and my garden, mostly) right now that I’ve been sewing in tiny increments here and there! But it’s finally complete, and I even managed to sew up the bias cowl top from Patrones 292 (#19) to wear with it!

Even though these go so well together, I’ve actually got no shortage of other things in my wardrobe to wear with either, so there’s no “orphan coordinates” here! And I managed to sneak some mustard and navy into my wardrobe a bit earlier than I’d planned, too!

A rescued Burda summer dress

This dress has quite the long lead-time to being finished, and most of that time was spent hanging on the “hook of shame” where failures and UFOs go to shame me every time I walk into m sewing room until I fix them, repurpose the fabric, or bin them. You see, this pattern was really the only Burda magazine design that grabbed me enough to actually sew up last year, and what luck, it ended up being a rare Burda dud!

Not only did I actually trace and sew it, but I did so during the publication month, too! Burda 07-2021-120 (which I actually found online in the steaming mess that is their English site!) is a loose fitting dress in two lengths (I chose the shorter one) with short sleeves and a gathered, panel skirt (no side seams!) and a centre front panel with bust darts integrated into the panel seams.

A chambray Luova tunic dress

I will readily admit that I don’t pre-order many books. But I absolutely pre-ordered the Named Patterns new “Building the Pattern” book as soon as I could! I mean, why wouldn’t I after making so many patterns from their first book (and a few more planned, too!)?! The focus on this book is fitting alterations so there are TONS of diagrams and instructions and advice on getting a great fit even before you get to the patterns in the book (which can either be traced from the sheets in the book, or downloaded in A4/AO formats from their website).

The Luova pattern comes in three styles: a blouse, tunic, or dress, with two different collars and three different sleeves to choose from. The tunic (a short dress, really) stood out to me and I thought that perhaps I’d be able to make it from a 1.5m remnant of stonewashed denim from Fabrics Galore I’d recently bought. I got it thinking I’d use it to make another pair of jeans but it’s in no way what I’d consider a “denim”, btw – it’s far lighter than jeans and what I’d call a chambray, suitable for shirts or dresses. So it seemed perfect for this tunic!