It’s my 45th birthday today!! It’s not been a great year, tbh, with a truly horrific last 6 months, but to quote my friend Louis de Pointe du Lac, “A shit life beats no life.” And maybe this birthday will mark the start of a fresh new year, eh?
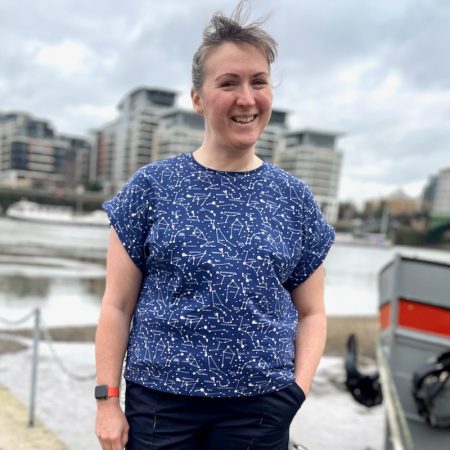
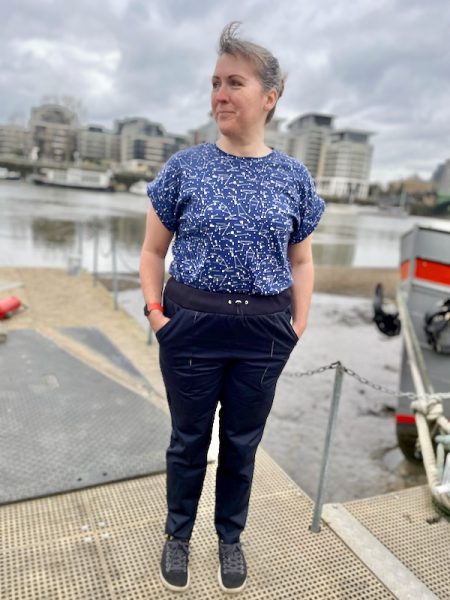
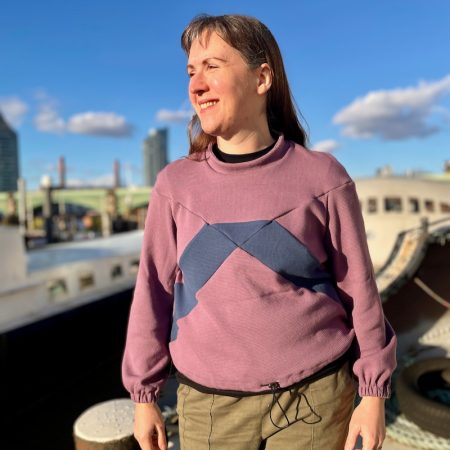
If you’re a long-term reader, you’ll know that I always like to sew myself something special for my birthday. With gaining so much weight from Long Covid, I wanted to sew something that would fit me now and still fit me when I go back to my usual body size. The Named Saraste Top from their “Breaking the Pattern” book is one of my favourite ever patterns, so it was a natural choice. There’s mix and match pieces here that allow you to make a dress, shirt, or top with varying pieces. Here I used the body of the Top minus the ruffles, with the collar from the Shirt & Dress, and short sleeves from the Solina pattern.