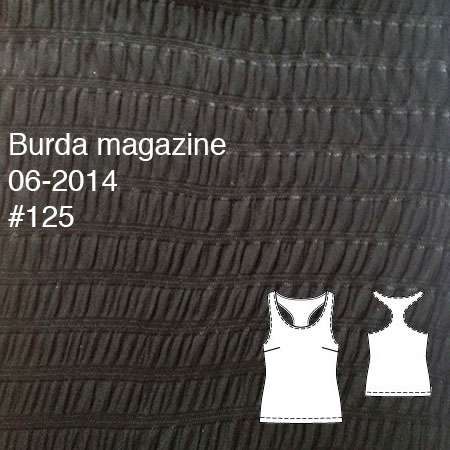
A basic black Burda tank

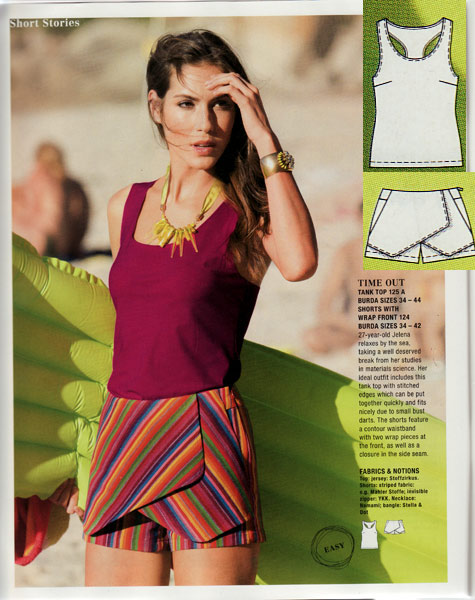
It’s typical that I end up making the most boring, basic pattern out of the crazy-amazing June issue of Burda magazine! But I’d traced this out as soon as the magazine arrived, and I was in desperate need of a quick “me project” after a very busy week of work sewing. So I sat down on Sunday morning after breakfast, and had this finished before we left for a BBQ at lunchtime! I literally couldn’t have gone to the shops and back in that time…

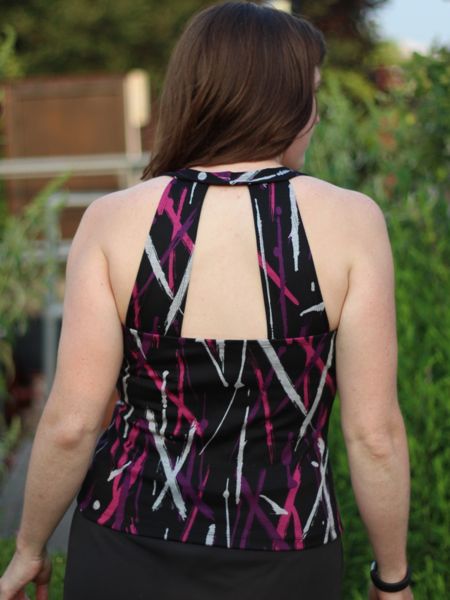
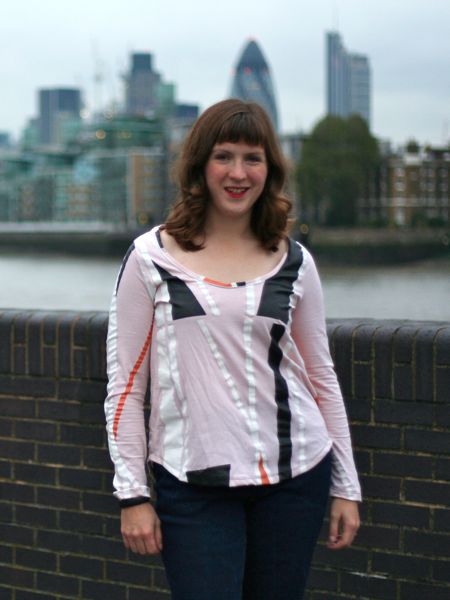
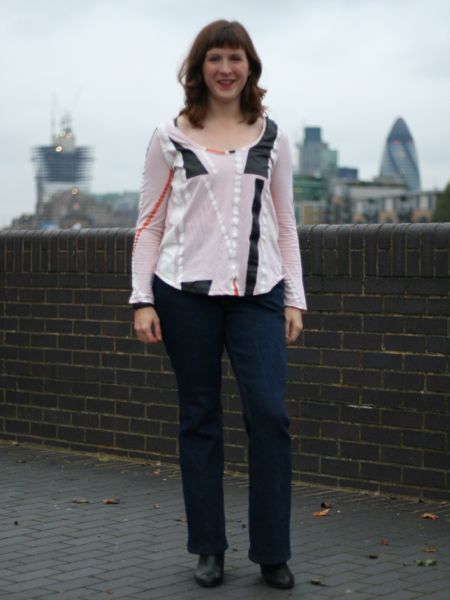
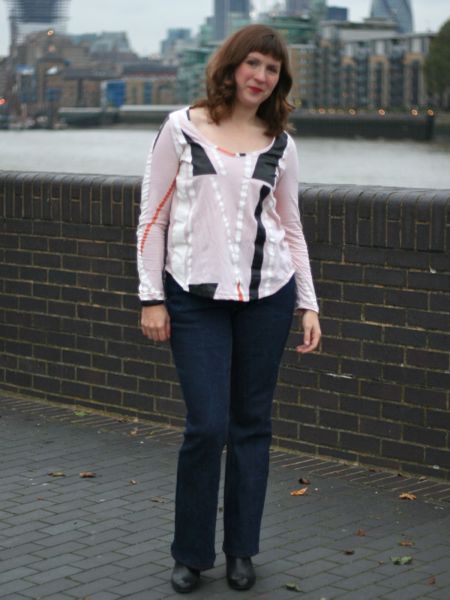
This really is just a basic, jersy tank/vest with a racerback as its only detail, so I paired it with some “problem fabric” I had in my stash – I bought this from Minerva at the end of last summer and it wasn’t really what I was expecting. It’s a thin, black viscose jersey with but lines of dense stitching which make the fabric in between the lines sort of gather and pucker. Cool to wear, but a total arse to cut out as it moves all over! It was also fairly linty, so I’m glad to be able to wear it instead of sewing it!


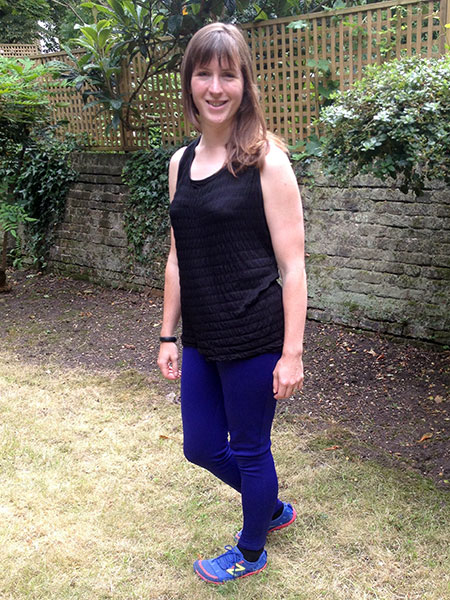
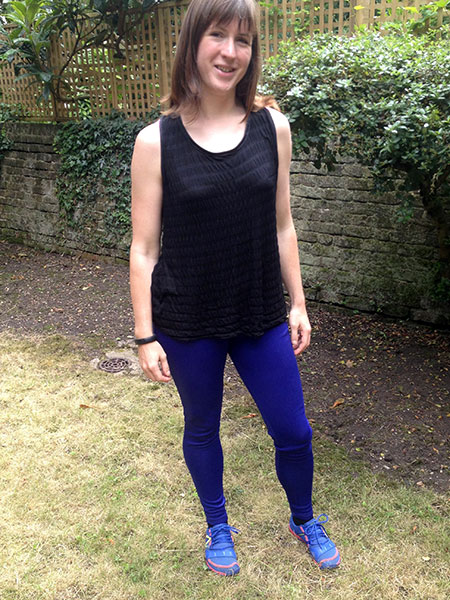
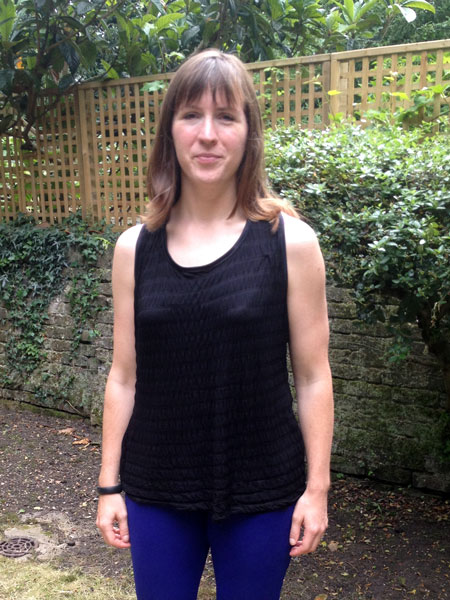
(Seen here paired with my pre-Mexico neopreney leggings and shot on location at a friend’s back garden, BBQ just out of shot!)

Open-backed Splatter tank top

It’s not quite a “Quick Knit Top” in my eyes, but I wanted to try out one of the running top patterns I selected in my Spring/Summer 2013 Sewing Ideas before I jumped headfirst into sewing another pair of jeans. I pulled out KwikSew 3672, which my mom bought for me a while back in one of the pattern sales you all get in the US. Otherwise KwikSew tend to be pretty expensive over here and I’d probably never got around to trying it!

Despite being a fairly recent pattern, it’s already OOP so act fat if you like the design lines! I’ve only made the top this time, but I think the skirt could be perfect for travelling if made in a hefty jersey. The splatter-print jersey I used here is from Minerva – it’s a bit 80s but I thought it’d do nicely as a test-top as its soft and has a nice weight. For the shelf bra lining I used a lingerie nylon(?) but in future I’d suggest something more supportive yet breathable like power net. Obviously for heavy-duty running I’d use a wicking supplex for the exterior, but for several reasons I’ll go into below, this pattern isn’t suited for running anyway.

I never trust Big 4 sizing any more so even though my measurements matched up perfectly with size Large, I still laid my jersey sloper over the nested pattern and ultimately decided Large was probably the best bet anyway.

Even though my fabric isn’t anywhere near as stretchy as the guide on the pattern envelope (who actually uses those, anyway??), the fit is still very nice, and as far as I can tell, very true to size considering I was smack-dab in the Large measurement range! I’d definitely describe this as close-fitting though, and the length feels just about perfect to me, too. The only fitting issue that surprised me is how high the neckline is in front! This feel seriously matronly to me – I’d normally have this at least 3 or 4 inches lower in a running top!

This pattern has an shelf bra, which contains the bulk of my problems with the pattern: the finishing of the under-bust elastic leaves exposed elastic against the skin (what?), an unfinished (albeit small) top edge inside, and unflattering and bad gathers that neither support nor make for clean finishing.

Three woven shell tops

A few months ago it occurred to me that I had a lot of 1 metre cuts of woven fabrics languishing in my stash and that I’d really like to have a good, basic shell top pattern in my arsenal to turn these into wearable woven tees or tanks to wear with jeans or skirts. So it was excellent timing when Colette Patterns re-released their free Sorbetto pattern, and I thought I’d give it a try.

Parisian jeans and a geometric Wiksten tee

As some of you may have guessed from my FW2012 shortlist I posted yesterday, I’ve made the Wiksten tank, using the pattern and geometric Mood jersey Kollabora gifted me and also another pair of Jalie jeans! I wasn’t actually planning that they’d go together, but they were a perfect pairing for a relaxed Sunday roast at a cosy pub near the moorings.

Let’s start with the jeans – as I said earlier, my NY-Lon jeans are easily my most-worn item of clothing ever since I made them last year, but they’re starting to fade and I want to have a replacement pair ready before they totally die. The denim I used there was from Mood in NYC, but I’d found some great stretch denim at the Tissues Dreyfus coupon shop in Paris in March, and only €10 for a 3m length, too. I wouldn’t normally buy that much of the same fabric if given a choice, but it means that I’ve got enough left over to easily make another pair. I find it really difficult to find good stretch denim in shops, but this has good stretch and recovery without being too flimsy, so I snapped it up when I saw it.

I constructed these exactly the same as my NY-Lon jeans – again, my main deviations from the Jalie pattern were to use a Burda curved waistband (instead of their rectangular, bias-cut waistband that was just awful in my muslin pair), and extended the pocket linings to the centre front for a non-stretch “gut slimming” panel, as before.

First running gear muslins

I love it when different areas of my life start overlapping! I’ve been a runner for about 7-8 years but I’ve only really sewn running gear a few times (mostly because my mom knows what I like and gets good stuff on sale for me!). But I’ve got the itch to sew the lycra again, and so I made the first steps towards making my own running gear designs a reality.

First step was to make quick and dirty muslins to check the fit and mark style lines. The Jalie 3135 skinsuit pattern was my basis for my running leggings (minus the top half and the front zipper opening!). I used the “silk touch” lycra jersey from Tia Knight as my muslin fabric here since it was the cheapest 4-way stretch she had, but it’s surprisingly really nice! It’s got a hand like a silk jersey, but seems a bit too drapey to be ideal in exercise gear, though it should be fine for the occasional accents or panels if I want to.

So I made my muslin, tried it on, and while I was wearing it, drew lot of placement and design lines straight on the fabric with a Sharpie:

  • I drew in my waistline just under the pattern’s torso double line
  • I marked the knees on front & back, and also where the curve of my bum lies (helpful for placing design lines later!)
  • I took out some excess in the ankle (no cankles here!) and about 4 inches off the length (the legs are reeeeeeeeally long – maybe to cover skates?)
  • And then, finally, I drew in some curved design lines where I thought they might look nice around my thighs and calves

The end result looks a bit like a liposuction patient (which is why I’m not modelling it!!), but it definitely served its purpose!