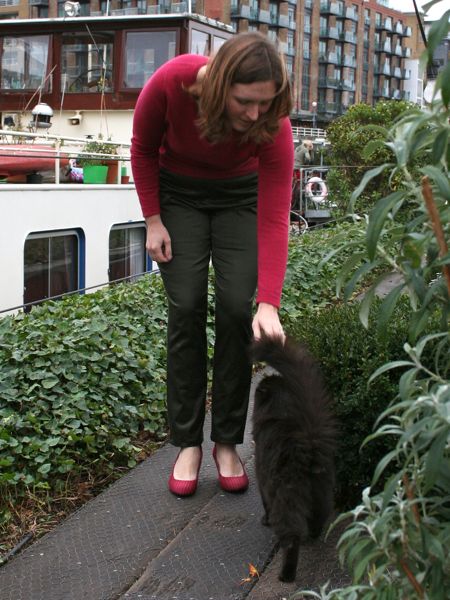
Dark green sateen Clover trousers

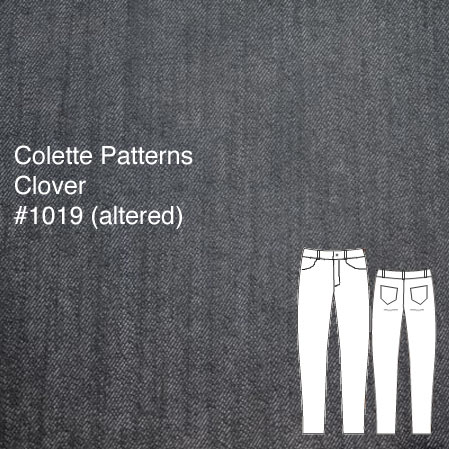
As I mentioned earlier this week, I bought the new Colette Patterns Clover trouser pattern and I just had to try it right away!

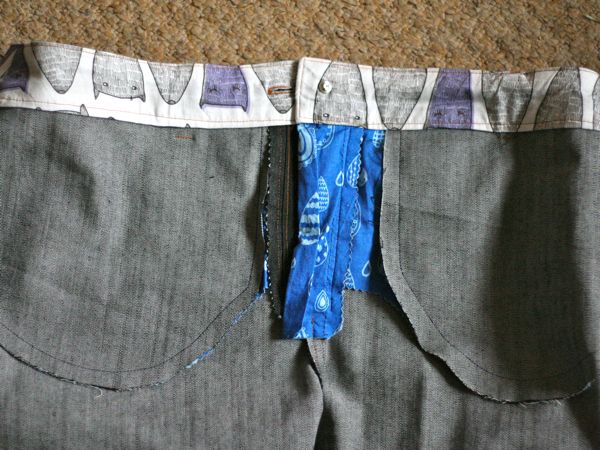
There’s only four pattern pieces (five if you count the pockets) so this is about as simple as trousers get, and Colette have rated this as for Beginners, too. My first step was to make up a quick muslin in some super cheap stretch viscose I had on hand, but I hadn’t realised that the stretch was lengthwise until midway throgh cutting it, meaning there’d be no stretch around the body.

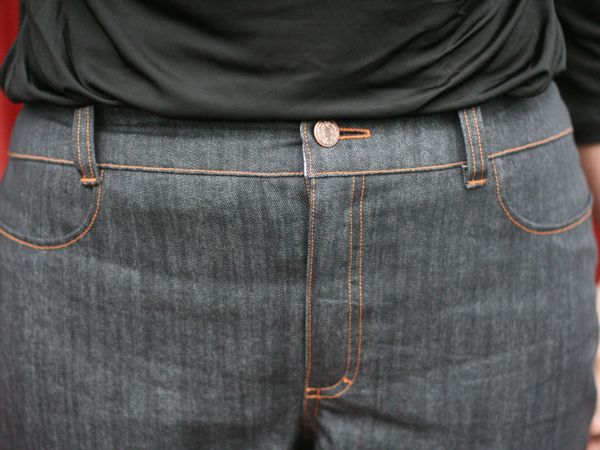
And you know what? These trousers still fit like a dream, with zero fitting wrinkles! I kid you not! It’s like Sarai came and measured me in my sleep or something (really, that’s bordering on creepy right there!). The only alteration I made with this final version was to add 2” to the leg length at the indicated line. Otherwise View A (the longer length) were still above my ankle bone when unhemmed. I’m not sure what height Colette drafts for, but I usually have to lengthen Burda trousers, too (but not Knip!) so I’d guess it’s around the 5’6” range.

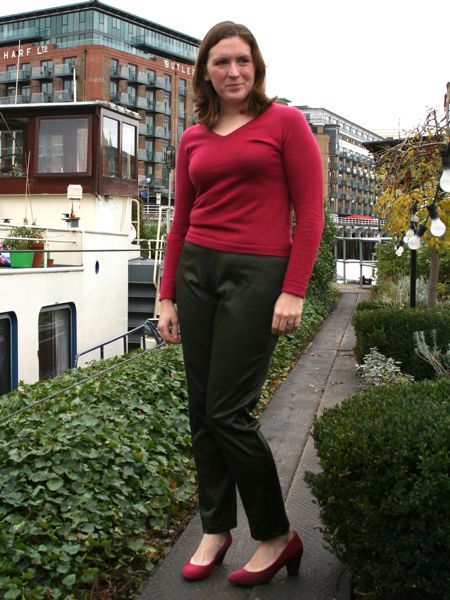
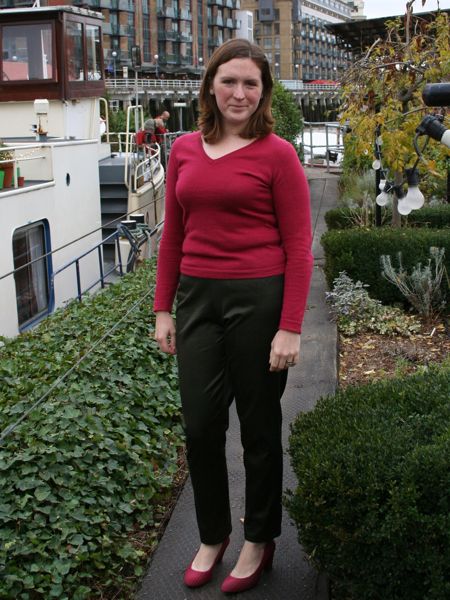
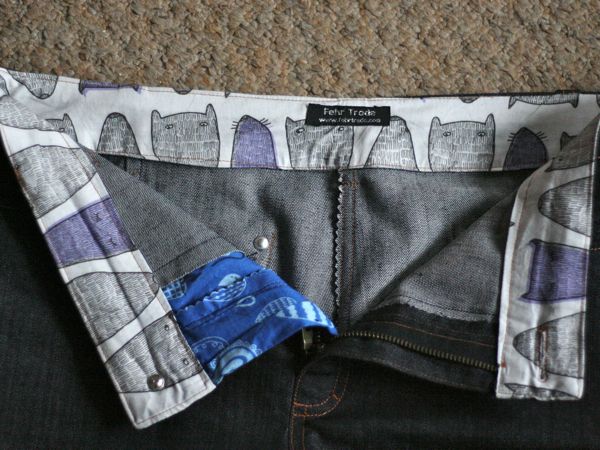
I’m happy to say that this version in a nicer (but not terribly much more expensive) fabric fit just as well around the waist and hips, and are now the perfect length, too!

Even Bosco couldn’t resist coming along to rub up against them!

My Colette Clover jeans

A few months ago, I went and sewed up the Clover trouser pattern for the first time, in dark green sateen. Having fixed the zipper (my own mistake), I realised that I love the great fit of these trousers, but they’d be even better with traditional pockets and a front fly more like jeans… in fact, I’d actually just like some Clover jeans.

So that’s exactly what I did!

I first altered the pattern to create the front pockets (and I extended the pocket lining piece to the centre front to make a “gut slimming” panel), add a fly-front, and extend front waistband to match the fly underlap. I also added back pockets and belt loops off another jeans pattern. I didn’t bother to draft a back yoke as I actually prefer the look of jeans without them, and the back darts just disappear into the pockets anyway.

This stretch denim is ex-designer from Ditto Fabrics and it’s the exact same stuff I used in these designer jeans (I loved it so much I bought more). The pocket linings and waistband facings are fun Spoonflower cotton prints – Rainy Day Doodles for the pocket linings and fly underlap, and foxes for the inner waistband (the latter by my mate Galia!).

Before New Year's…

… I want to make:

  • Clover jeans – I love the fit of my Clover trousers so much, but I don’t like the pockets or side opening. I’m altering the pattern to be more like jeans! (oh yeah – I did fix the zipper in the end…)
  • Ruby Slip – The pattern is printed and taped, but not yet traced. I have the perfect silk in my stash, and I bought some to-die-for wide lace at MacCulloch & Wallis on Friday
  • Paco’s Drape Collar Tunic – This is already traced and I’ve got the perfect purple sweater knit hanging around from last winter. This should be a quickie on the overlocker
  • Holly’s maternity maxi-dress, Burda 08/2008 #125 – The bodice is traced, I’ve done a first muslin, and the fabric is ready to go. Her birthday’s on Boxing Day, so I’m aiming early!

I’ve got to go into work on the 27th-29th, but I’ve still got a lot of days off to hole up in my sewing cave. Most years I end up making a coat over the Christmas break, but I don’t really have much need this year so I thought I’d focus my attentions elsewhere instead.

A wool maternity coat – basting and buttonholes

If you recall from last week, my next project is this maternity coat from the August 2008 issue of Burda, which I promised a very good friend:


(The issue date is still wrong above – it is indeed in the 2008 issue…)

After we sorted out the fitting and design alterations (including a second, quick muslin fitting of just the upper bodice in the pub toilets on Saturday night!), my first step was to cut out all the pieces in the green wool and then again in the black cotton flannel I’d bought to underline the spongey wool coating and give it a bit more structure. The coating is wonderful, but I’m a bit concerned about it bagging out in places, and I wanted to give it some added stability as well as a bit of extra warmth (though if warmth were my primary concern, I’d call it “interlining” and attach it a bit differently!).

Here’s all the pieces hanging on the line in my tiny sewing room:

I then hand basted all the layers together around the edges of the pieces, plus through the darts, and then also marked out the placement lines for the five bound buttonholes: