IKEA print Alexander dress

As soon as I saw BurdaStyle’s “Alexander” blouse I feel in love with the floaty gathered sleeves and the retro-styling, but I also knew this blouse was meant to be a dress!

I had some pretty IKEA “Josefin” fabric in my stash since last June that I’d bought for £3.99/m and was just waiting for the perfect pattern to come along. This seemed like a great match, and as a bonus, I probably only used a little over 2m of the 3 I bought here, so there’s enough left over for something else, too.

Vintage flowered Alexander blouse

Before I jumped in with both feet in my quest to turn BurdaStyle’s “Alexander” blouse into a dress, I thought it wise to first make the pattern as intended – a cute blouse with flowy, gathered sleeves, front and back buttons, and a vintage-inspired peplum.

I had some vintage flower-print lightweight cotton in my stash that had been in my Granny’s stash for some time and she’d given it to me last time I was over in the States. As it turns out, she’s ill at the moment and in need of some cheering up, so I thought it fitting to send this blouse back to her since she liked the print so much and we’re roughly the same size!

Unfortunately this is one of those patterns that look SO much better on a real person than a dress form, but you’ll see that when we get to the dress!

Here’s a view of the collar , which I altered using Gertie’s “drafting a convertible collar” tutorial. This was a super easy way of lowering the quite high collar and adding a little something extra to the neckline:

Honeymoon Lingerie – nightgown muslin

True confessions – I took a brief break from the wedding gown. I don’t deal well with long projects and I was getting really itchy to complete something (I didn’t have any completed projects in July because of the gown, aaaaagghh!).

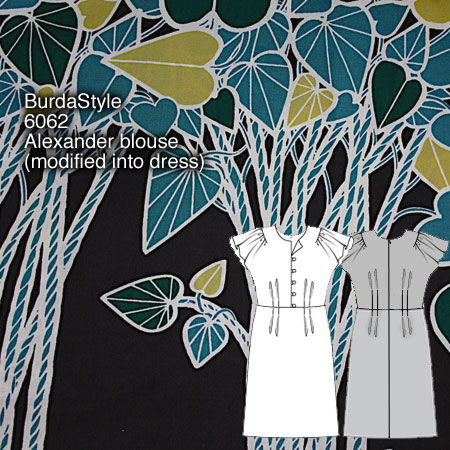
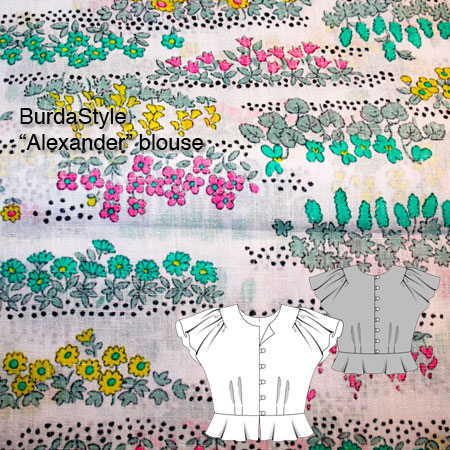
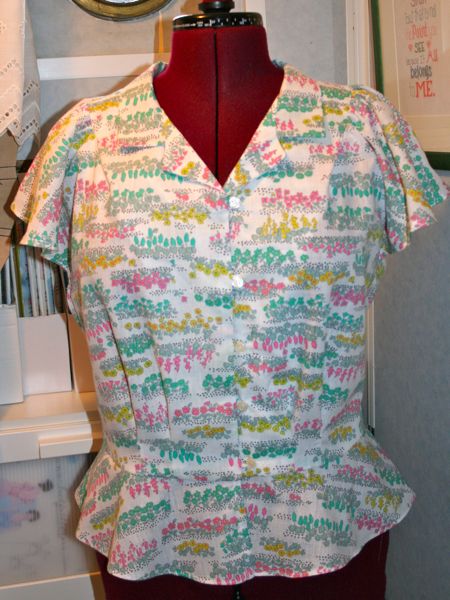
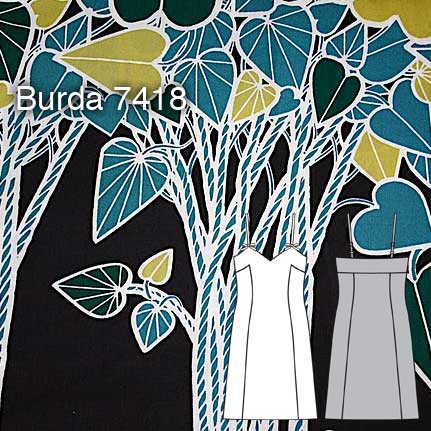
So I took one evening out to do a test run of one of the patterns I’d earmarked for honeymoon lingerie and Shasha’s Malaysian silks, Burda 7418 (on the right in my earlier image below):

This is a brand-new Burda envelope pattern, but I just went and bought the pdf version instead because a) I’m impatient, b) the pdf patterns are way cheaper than the paper versions (we have a laser printer and printer paper is cheap!), c) piecing together pdf patterns takes only 5 minutes longer than tracing a paper pattern and I can do it sitting down, and d) no seam allowances, woooooooop!

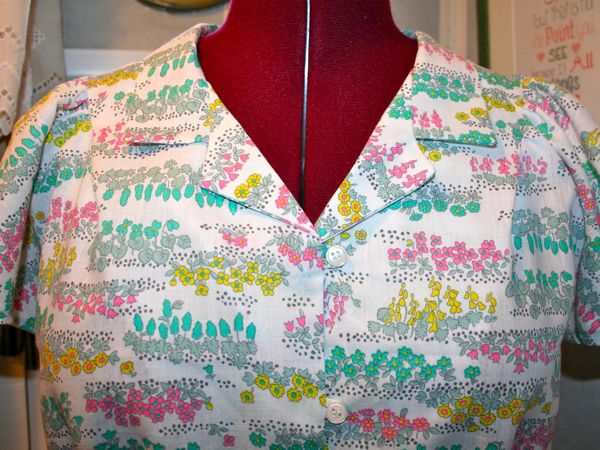
This was my first downloadable pattern from the German Burda site, and I was pleased to find that the instructions were in nine languages, with fully illustrated instructions. I was expecting it to just be in German! But do pay attention to the print preview, though, because you may not need to print the last ten pages or so (the English instructions only take up a few pages). The only weird thing is that they decided to waste some paper giving us two side panel pattern pieces (one to be cut in lace and the other in self-fabric) and the two pieces are absolutely identical. Weird.