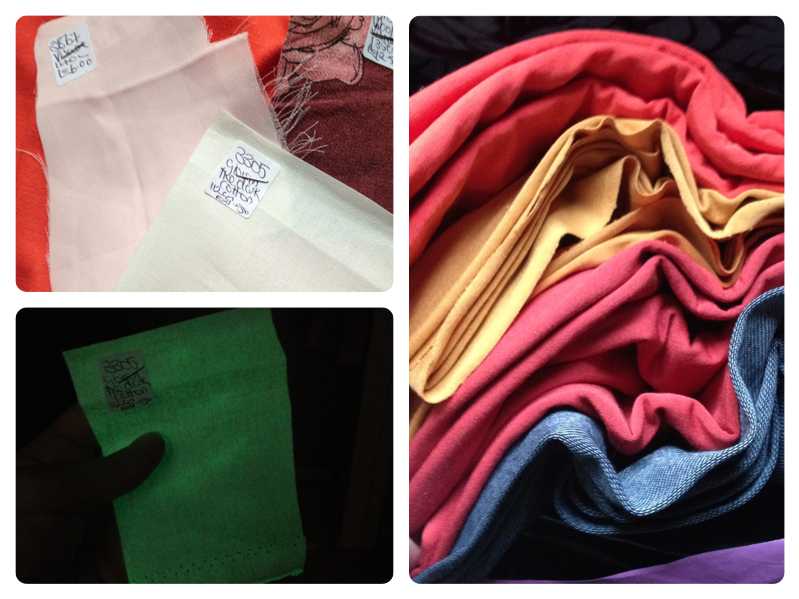
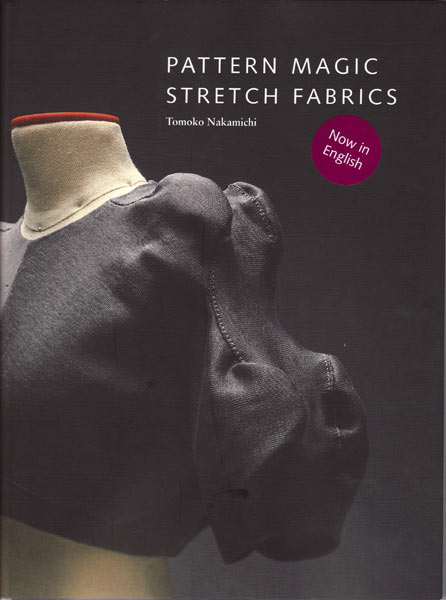
Pattern Magic Stretch Fabrics course at Morley College

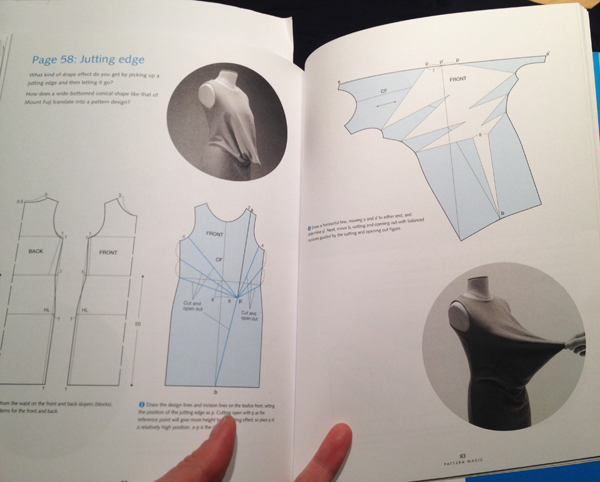
Some of you may remember that last year I took a course at Morley College on Pattern Magic 2 (my first actual sewing class, believe it or not!) and it was so interesting, useful, and inspiring that I just had to take the course on the third book, Pattern Magic Stretch Fabrics. I booked this something like 9 months in advance, I was that excited to take it!

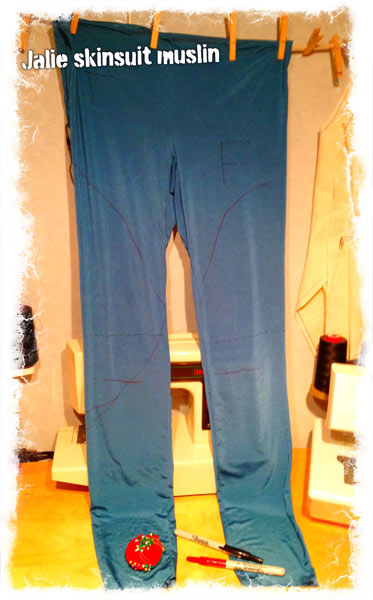
The first two books are based on woven slopers, but since this third one is all for knits, I used my own knit sloper instead of the book’s – I’m rather proud of this bit of forward-thinking! I also got to show off my pattern drafting gadgets plus it was great to see so many familiar faces and meet new ones, too (hi Clover & Ingrid!!). For the second class though, Claire had taken the initiative to digitally grade up the book’s blocks to larger, more standard Western sizes! She says she’s going to share these on her site very soon, so keep an eye over there if you want a short-cut to a bigger knit block.

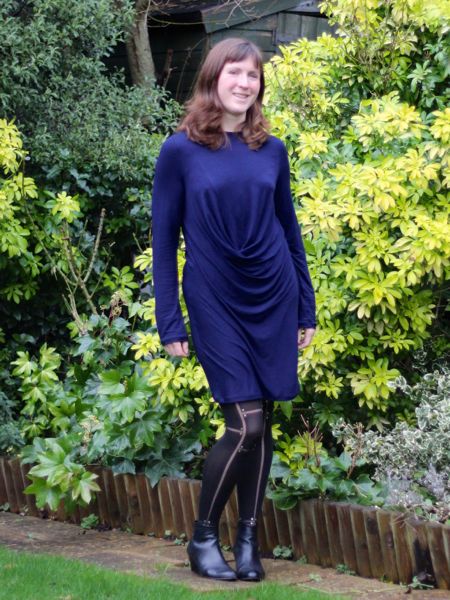
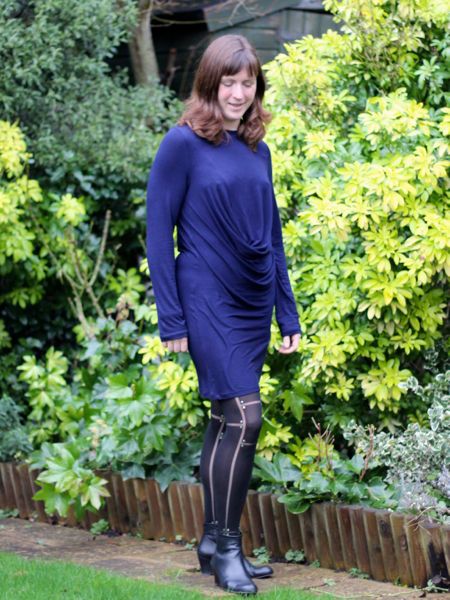
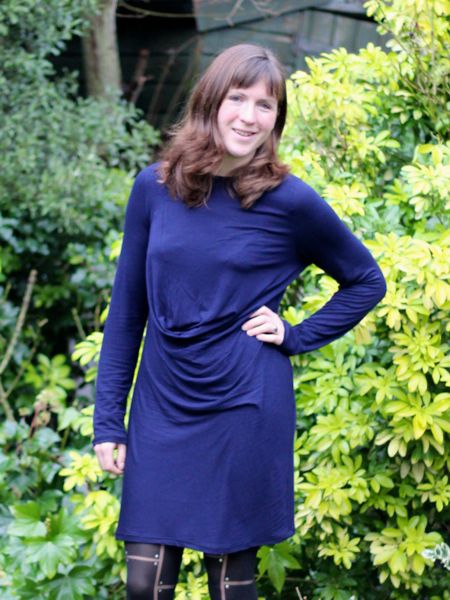
Over the course of two consecutive Saturdays, we drafted three designs from the book (chosen by our amazing tutor, Moni), and a fourth of our choice, plus a bit of time at the end to sew up a sample so we got to see the range in real life.

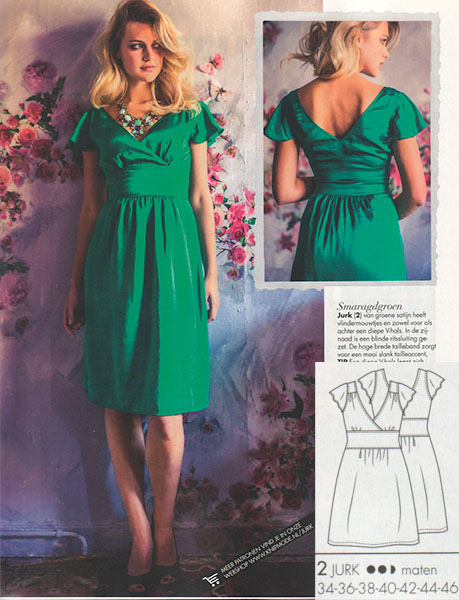
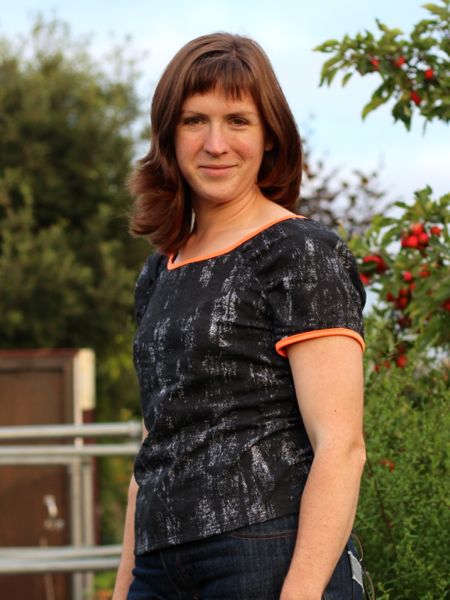
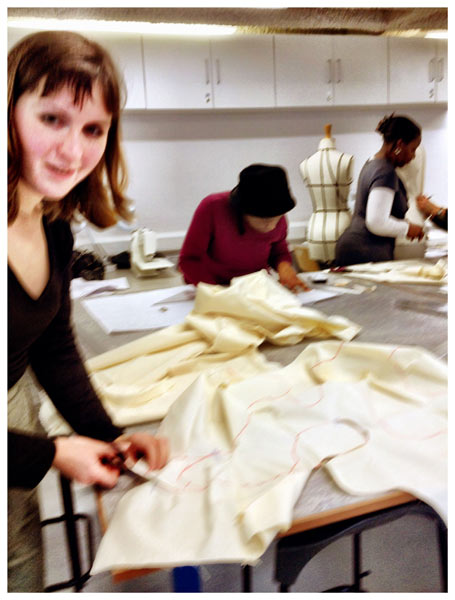
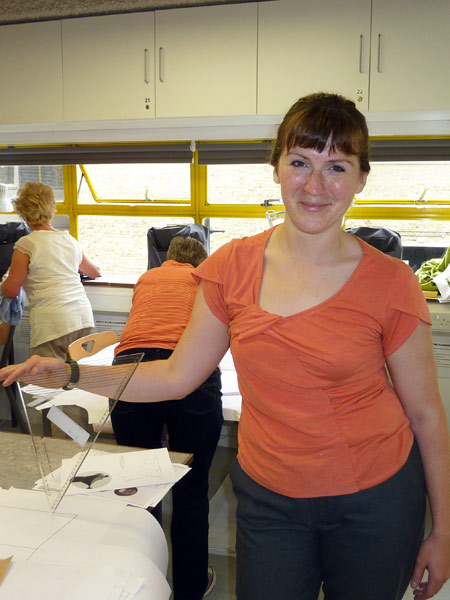
Here you can see me & Claire from the first Saturday! (I’m totally brown-nosing by wearing a design from the second Pattern Magic book!)

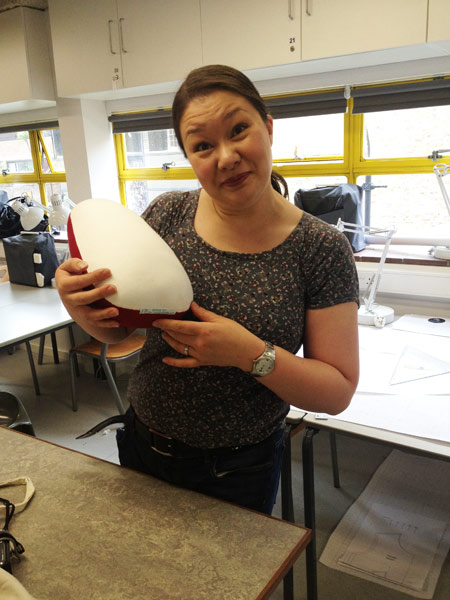
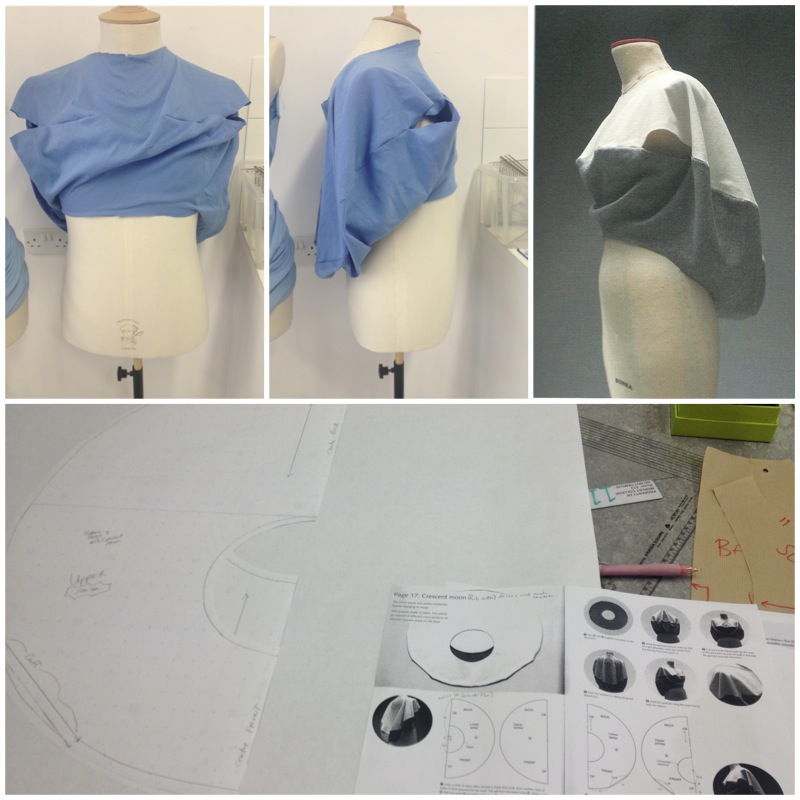
The first design we all drafted was “Crescent Moon“, essentially a giant donut that you wear. It’s so avant-garde that it doesn’t even use a knit sloper, just circles!

This did look a bit better once we got out a smaller, female mannequin, but it’s still not something I’m finding particularly wearable.

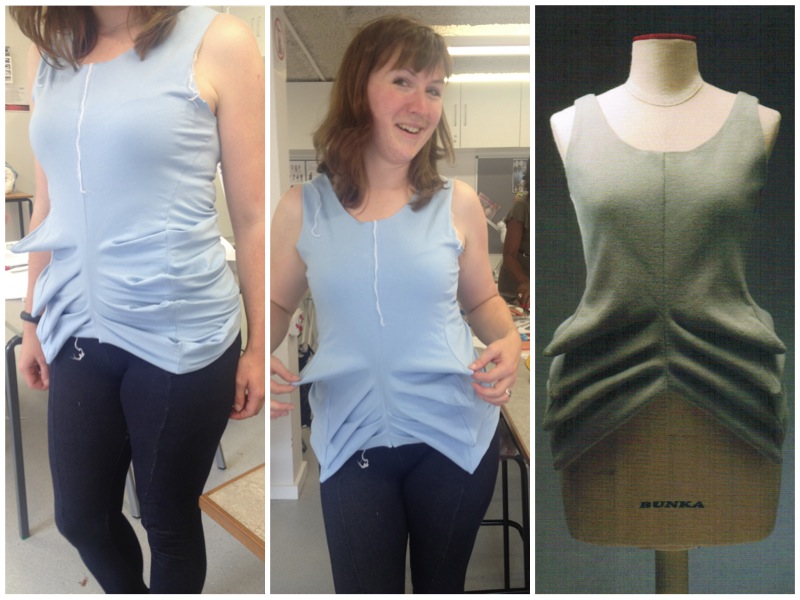
The second design we all drafted was “Sharp & Snappy“, which I dubbed “the stegosaurus”. The gist here is that you shift the side seams forward and add triangular points in the seam line.

KnipMode magazine – December 2014

What a blast from the past, right?? Some longterm readers may recall that I used to subscribe to the Dutch pattern magazine, KnipMode, but the quality of the designs really went downhill when they appointed a new editor and I let my subscription expire back in 2012. It was an easy choice, since it was the most expensive of my magazine subscriptions, but when I get the opportunity, I still pick up the odd issue from continental newsstands.

Well, we were in Brussels shortly before Christmas for a festive weekend at the Christmas market, and on our drive back we stopped in at a Belgian supermarket. I was surprised to find KnipMode on the magazine rack, and I couldn’t resist seeing what KnipMode were up to these days. Clearly loads has happened since 2012, as they’ve not only had a complete redesign, but have a new publisher as well! The editor I blamed for the downhill spiral is still there (grumble grumble) but the designs look decent in this one, so I’ll hold out hope…


“Knip” means “cut” in Dutch, so I think the new scissor logo is quite cute!

First up is a green party dress with lots of gathering and a nice surplice neckline. It’s not a million miles away from my 30th birthday dress, which is probably why I was drawn to it!

This tie-hem shirt is styled for a party here, but I think this could be a really great casual top, too. It’s made for wovens, and with the kimono sleeve it means there’s only two patterns pieces plus the hem binding, so it’d be super quick to sew it! It reminds me a little of a Pattern Magic design that I drafted and muslined but haven’t quite sewn up yet, though the tie on that is in a different position.

Navy blue Pattern Magic "Jutting Edge" dress

I drafted a few patterns over the summer on the Morley College course based on the Pattern Magic: Stretch Fabrics book, this design included. To be perfectly honest, the photos in the book do absolutely nothing for me, so I flipped right past it when reading it on my own:

But the instructor, Moni, saw its potential, and thought that it might be nice in a softer jersey. She was totally right! The sample that was made on the course in similar, lightweight jersey had a chic cowl effect, but without a low neck like you normally get to achieve a cowl.

So I’d been meaning to make this all year, but finally unearthed my pattern pieces on Christmas Eve day, when I fancied sewing something quick that wasn’t workout gear for a change!

The pattern here is essentially just a long teeshirt dress, but with an added very wide (180 degrees!) dart that runs from shoulder to abdomen. It means that it’s a bit of a pain to draft, but extremely quick and easy to sew. On the course, I’d thought ahead and brought my own knit sloper so not only did I draft this to my body (at the time, anyway), but I also kept the armscye unchanged here so I could easily add sleeves!

Neon trim gathered teeshirt

I bought a bit of fabric recently, and I had a spare few minutes in between packing and setting up our new bedroom, so of course I squeezed in a new top before we left for Mexico!

It’s #126 from the February 2013 Burda magazine, but the pattern is for sale on Burdastyle.com if you like it, too.

The fabric is a distressed jersey print from Minerva that I bought a fortnight ago. It’s not got the nicest hand and feels quite stiff from the paint used on it (and didn’t soften up much in the wash, either), so I had to choose a pattern carefully. I first thought of my tie-front Pattern Magic top but 1m wasn’t enough for that so I turned to this pattern instead since it was traced and nearby after I made it earlier this year for my gathered merino top.

The neon trim was just a happy accident – I’d originally planned a basic neckband of self fabric but I mismeasured the neckline (I forgot to add in the top of the raglan sleeves!) so I started to think outside the box and I remembered I had some of this stretch fluroescent orange binding (also from Minerva!) in my stash from earlier in the year. Now I can’t imagine this top without it!

The Swirl Sheath Dress

This dress has been an awfully long time in the making. The idea started back when I took the Pattern Magic 2 class at Morley College last winter, where we learned a technique called “Fundamentals: Create three-dimensional forms with design lines only” (it just rolls off the tongue, eh?).

Essentially what this means is you sew up a muslin, draw design lines all over it, cut along these lines, then introduce snips of ease until the pieces lie flat, and there’s your new pattern! I did all this (based on a sheath dress from the June 2012 Burda magazine, which doesn’t appear to be on the US BurdaStyle, sorry) last summer, but then the project stalled when I couldn’t find any heavyweight stretch satin anywhere in Europe, and had to import this gorgeous salmon stretch duchesse from Gorgeous Fabrics.

Then there were further delays as I didn’t have a wide enough cutting table to lay out the asymmetric and strangely-shaped pieces, until a few weeks ago when the Thrifty Stitcher invited me to pow-wow at her studio and suddenly my swirl sheath dress was back on track!

Because all the darts from the original pattern (bar one) are now incorporated into a bunch of curved seams, this means there’s a lot of easing going on, so if you don’t like easing princess seams, for example, you really won’t like sewing this. My easing motto is “pin the crap out of it”, and I’m proud to say that I didn’t have any tucks or unpicking in any of these seams. Though I did use 58 pins on just the lower semi-circular seam!

Attention Londoners: Morley College new course list

Ooh it’s my favourite time of year! No, not new pattern announcement time, but new Morley College course details!

You can see all the fashion/sewing courses here and some of you may also be interested by the textiles courses, which include things like crochet, knitting, quilting, dyeing, and fabric manipulation.

They do the usual basic courses on using a sewing machine, drafting basic blocks, basic draping on the stand, etc, that loads of colleges offer, but they also offer some really interesting niche classes that don’t seem to be offered anywhere else.

Looking at the full lists above, there’s everything from historical wear to hats to shoes to lingerie to dancewear! Most courses only cost around £60, too, which is really reasonably priced, especially when you consider that most of the fashion courses in London start at £300! The facilities at Morley are great, too, with big tables, plenty of light, and ample Bernina machines and dummies, and there’s some seriously good pubs for lunch nearby…

You can read my review of the Pattern Magic 2 course here or my recent review of the Pattern Magic Stretch Fabrics course here.

Ones that pique my interest:

Flu shopping

While you all are out Christmas partying it up, I’ve been stuck in bed with the flu for the past two weeks. Horizontal and sleeping for up to 18 hours a day (yes, really) isn’t much fun. So when I bored of daytime tv after about two hours, I started doing some serious online shopping, oops.

Things I’ve bought:

Fabric from Tissu

(Seen on the right, above)

2 meters each of viscose-lycra jerseys in Rust, Mustard, and Bongo Jazz (awesome name for a bright orange!). One of these will become the Style Arc Marita dress in my Fall Sewing Shortlist. And I bought another meter of their “denim-look” jersey, because I freaking love my Not Jeggings and decided I want to make my Image Wear trousers in the same fabric, too.

Morley College sewing courses in London 2012-2013

Earlier this week there was an announcement that has quickly become more exciting for me than even the new pattern announcements – Morley College finally released their course details for the 2012-2013 school year!

If you want to cut straight to the good stuff, you can see all the fashion courses here and the textiles, craft, knitting, and quilting courses are here.

They do the usual basic courses on using a sewing machine, drafting basic blocks, basic draping on the stand, etc, that loads of colleges offer, but they also offer some really interesting niche classes that don’t seem to be offered anywhere else.

Looking at the full lists above, there’s everything from historical wear to hats to shoes to lingerie to dancewear! For beginners as well as truly advanced level courses, too. Most courses only cost around £50, too, which is really reasonably priced, especially when you consider that most of the fashion courses in London start at £300! The facilities at Morley are great, too, with big tables, plenty of light, and ample Bernina machines and dummies, and there’s some seriously good pubs for lunch nearby…

You can read my review of the Pattern Magic 2 course here or read Tracy’s review of the Pattern Magic 1 course here.

My picks from the new course list:

Sewing book review: Pattern Magic 3 – now in English!

I don’t buy sewing books very often these days, usually preferring to get my information and inspiration from the internet and sewing pattern magazines, but I’ve found so much inspiration from the Japanese design schools lately that I just can’t say no when these are translated into English.

If you recall, I reviewed the first two Pattern Magic books here, and then, just recently the first Drape Drape book was also released in English (with the second coming out later this year).

Drape Drape uses included patterns which you trace off and sew, but the Pattern Magic books all rely on instructions for altering your existing sloper, so they can work for pretty much any size or shape person.

The big difference in this third book is that all the patterns here are designed for stretch fabrics, which adds a whole new level of fun! But of course, this doesn’t mean you can’t use stretch fabrics for the designs in the first two books – I’ve already made the flip-turned top twice as teeshirts, though I did have a great boost in understanding the Pattern Magic instructions on the Morley College “Pattern Magic” course I took earlier this year (I’m eagerly awaiting the new course guide so I can sign up for the rumoured class on this new book next year!).

So enough intro, let’s have a look at some of the wonderful (and weird!) designs in this instalment!

First running gear muslins

I love it when different areas of my life start overlapping! I’ve been a runner for about 7-8 years but I’ve only really sewn running gear a few times (mostly because my mom knows what I like and gets good stuff on sale for me!). But I’ve got the itch to sew the lycra again, and so I made the first steps towards making my own running gear designs a reality.

First step was to make quick and dirty muslins to check the fit and mark style lines. The Jalie 3135 skinsuit pattern was my basis for my running leggings (minus the top half and the front zipper opening!). I used the “silk touch” lycra jersey from Tia Knight as my muslin fabric here since it was the cheapest 4-way stretch she had, but it’s surprisingly really nice! It’s got a hand like a silk jersey, but seems a bit too drapey to be ideal in exercise gear, though it should be fine for the occasional accents or panels if I want to.

So I made my muslin, tried it on, and while I was wearing it, drew lot of placement and design lines straight on the fabric with a Sharpie:

  • I drew in my waistline just under the pattern’s torso double line
  • I marked the knees on front & back, and also where the curve of my bum lies (helpful for placing design lines later!)
  • I took out some excess in the ankle (no cankles here!) and about 4 inches off the length (the legs are reeeeeeeeally long – maybe to cover skates?)
  • And then, finally, I drew in some curved design lines where I thought they might look nice around my thighs and calves

The end result looks a bit like a liposuction patient (which is why I’m not modelling it!!), but it definitely served its purpose!