A wool maternity coat – basting and buttonholes

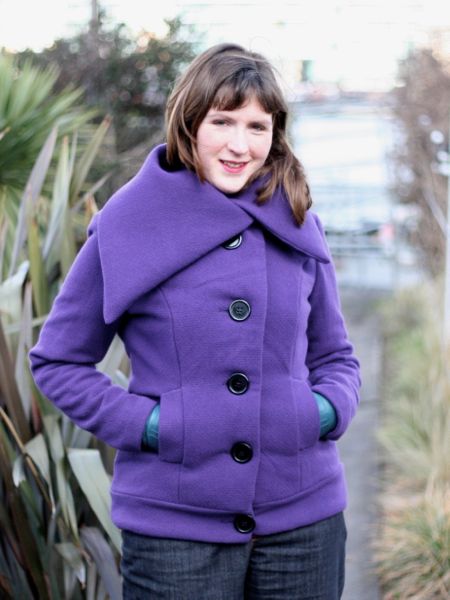
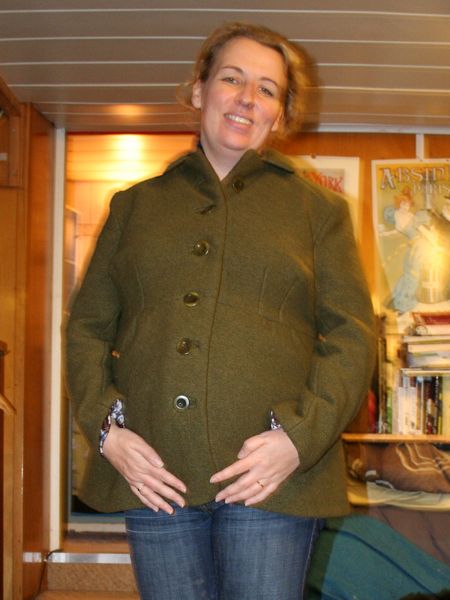
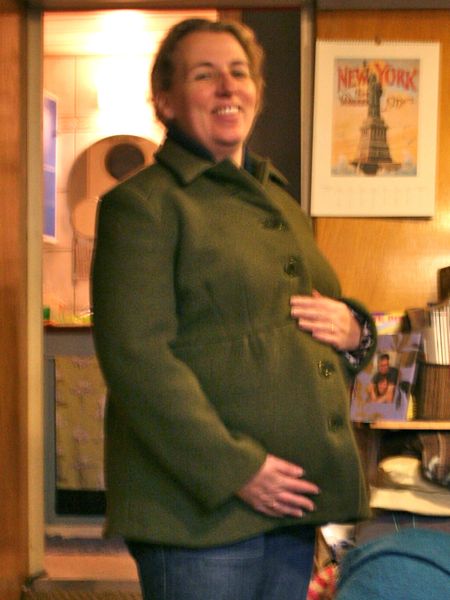
If you recall from last week, my next project is this maternity coat from the August 2008 issue of Burda, which I promised a very good friend:


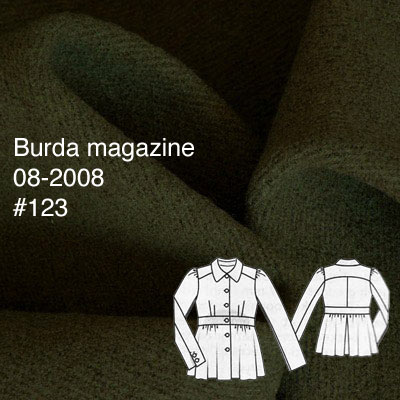
(The issue date is still wrong above – it is indeed in the 2008 issue…)

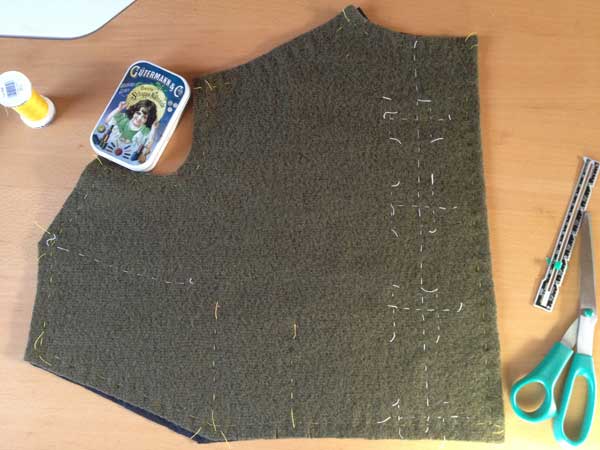
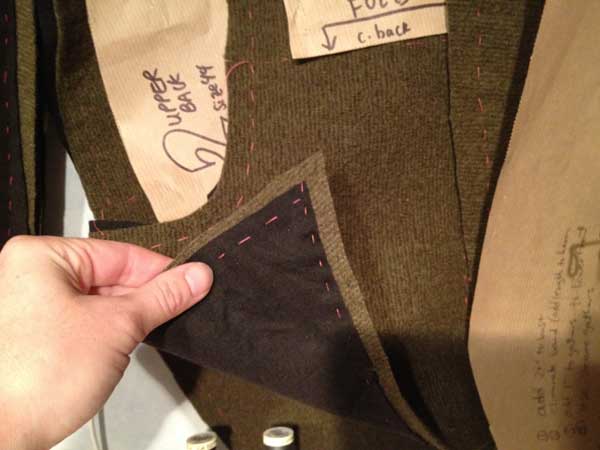
After we sorted out the fitting and design alterations (including a second, quick muslin fitting of just the upper bodice in the pub toilets on Saturday night!), my first step was to cut out all the pieces in the green wool and then again in the black cotton flannel I’d bought to underline the spongey wool coating and give it a bit more structure. The coating is wonderful, but I’m a bit concerned about it bagging out in places, and I wanted to give it some added stability as well as a bit of extra warmth (though if warmth were my primary concern, I’d call it “interlining” and attach it a bit differently!).

Here’s all the pieces hanging on the line in my tiny sewing room:

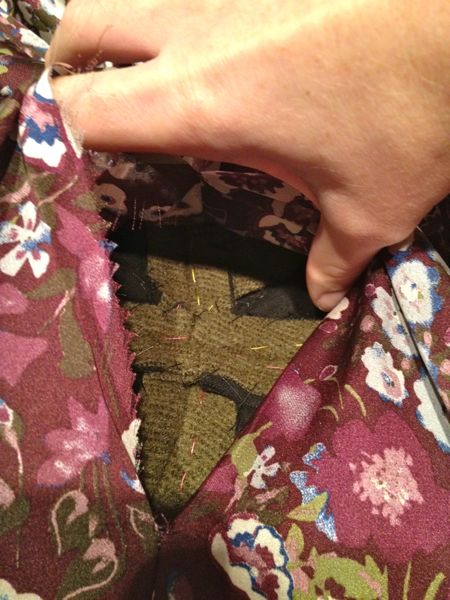
I then hand basted all the layers together around the edges of the pieces, plus through the darts, and then also marked out the placement lines for the five bound buttonholes:

The MyImage Purple coat

This coat originally appeared on my Fall 2011 sewing plans, so it feels good to finally finish it just as the weather’s starting to defrost (I hope anyway!). I’ve been wearing my muted turquoise coat for most of the winter, but I’m hoping to wear this to transition into Spring!

I’ve used “coat” in the title, but is it really a coat? Is it a jacket? Where’s the line drawn, anyway? It’s short like a jacket, but wool and warm like a coat, so I’m not quite sure what to call this.

This pattern appeared in the Winter 2011 MyImage magazine (along with that awesome cowl top!) and it’s still available to buy if you fancy it (and holy crap, it’s on sale right now for €1.95/US$2.63, too)!.

You can see some in-progress photos of this coat here and here. The nice thing about working on a project for a while is that you get to see a lot of the “guts” as I work! The downside, of course, is that I have the attention span of a gnat and I get bored when projects stretch over the fortnight mark…

The first thing you notice about this coat is that Big! Collar!! It’s a “whole lotta look”, but I totally dig it. Your mileage may vary! I’ve worn it out twice over the weekend already and the collar is great – it’s substational enough and close enough to the neck that I don’t need a scarf!

A wool maternity coat – finished photos

Last week I was nearly finished with Holly’s coat, and the week before that l told you all about underlining it, but finally I can show you completed completed photos!

If you recall, I used this maternity coat from the August 2008 issue of Burda, but after the first muslin we made some design changes (namely, eliminating the band and gathered sleeve caps) and an added dart as a consequence of an FBA (full bust adjustment) so it’s not quite the same as you see in the original tech drawing below…

Apologies for the slight blurriness and busy background – this is why I try not to do photoshoots after dark, but it couldn’t be helped this time around! At least you can see how it fits her, even if the photo quality isn’t great.

A wool maternity coat – nearly there…

As you recall, last week I underlined Holly’s maternity coat and created all five bound buttonholes, but I had the day off work on Friday so I was able to make loads of progress over my long weekend! In fact, her coat is now 95% finished and ready to hand over, so I thought I’d give you a rundown of what I got up to…

I’m making this maternity coat from the August 2008 issue of Burda, but after the first muslin we made some design changes (namely, eliminating the band and gathered sleeve caps) so it won’t look exactly like this tech drawing:

As I constructed the shell of the coat, I took the extra step here to catch-stitch all the thick wool seam allowances to the flannel underlining. I started off just doing this on the sleeve seams as I feel the bumps are most noticeable during wear there (and therefore most likely to get annoying quickly!), but I carried on and just catchstitched everywhere.

I wanted this coat to be as nice for her as one I would make myself, so why not? I also noted that Gertie was asking last week how to make the seam allowances lie flat on her coat – well, the answer is catch stitching!


(I forgot to take a photo of all my stitching before lining it, though, so you’ll have to make do with a shot through the “window”!)