This will be the last update you’ll get before the wedding on Saturday, so after this it’ll all be finished photos, which is rather exciting!
I almost winced trying on my gown for the final time on Monday night – I thought for certain there’d be some niggling problem I’d have to fix, but no, phew! Everything’s still good. My sister-in-law marked out a nice curve in the train, trimmed it to within an inch or so of the pins, and then I did the hem last night. As it turns out, I’ve still got a good two feet of train left, and the thumb loop is intact, so I’ll be able to easily lift it up for the dancefloor.
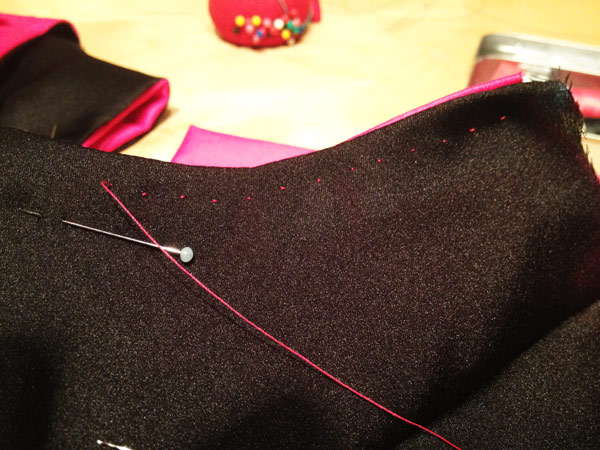
The original hem was just a narrow turned hem that’s stitched by machine, so I did the same thing on the new area to keep it consistent. First I folded the allowance over so the fold was at the marked hem line, and I machine stitched as close to the edge as I could get. I pressed this (with the indispensable silk organza press cloth!), then carefully trimmed away the allowance as close to the stitching as possible. I then folded over the hem again and stitched about 1/8” away from the edge, then gave it another good pressing.
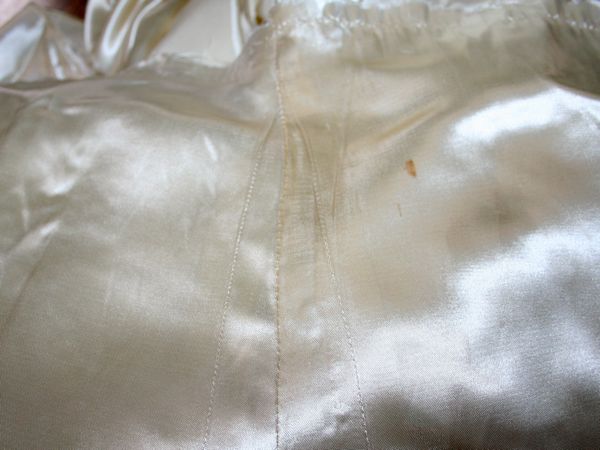
But this wasn’t the only hem I sewed last night, no no! I also hemmed both bridesmaids dresses! My sister-in-law was a huge help here, too, by hand basting the hem of each dress very close to the cut edge of the fabric. So when it came time for me to send them through the coverstitch machine, not only did I have a nice line to follow, but the basting kept the silk jersey from twisting underneath like it loves to do.