Go to content Go to navigation Go to highlighted projects Go to contact

Silver Tweed beginnings...

31 January 2010, 22:03

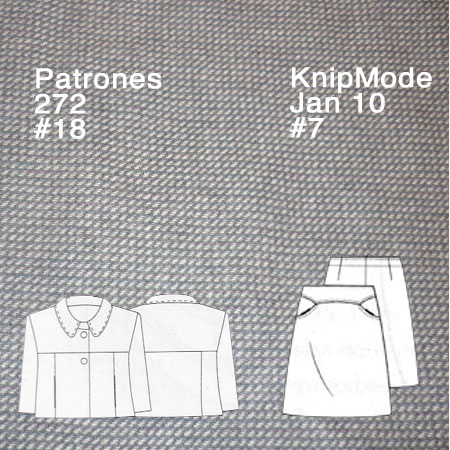
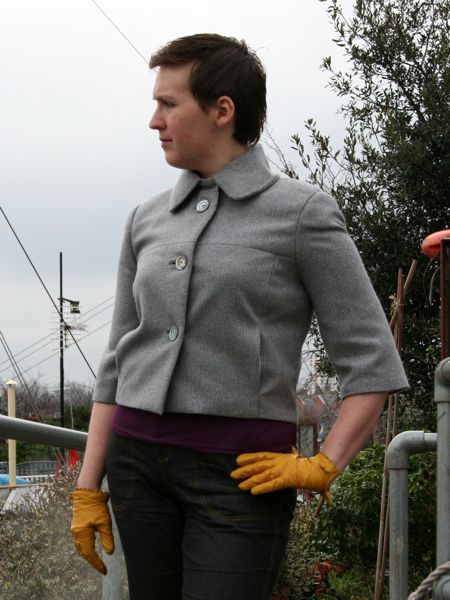
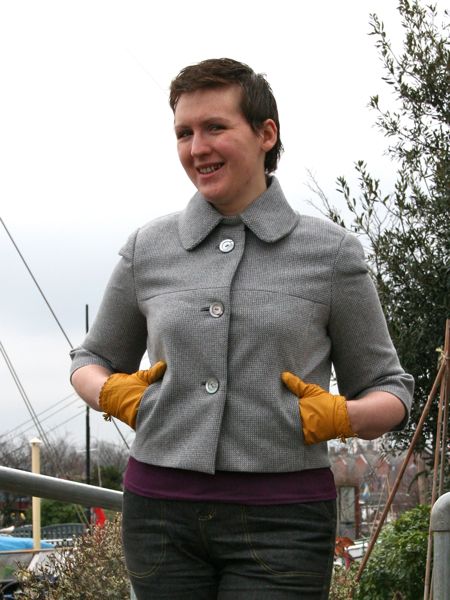
With the first Planned Partnership done & dusted in the form of my techno skirt and sequin top, it’s been time to start concentrating on another pairing – the pale silver tweed to go with the nude stretch suiting…

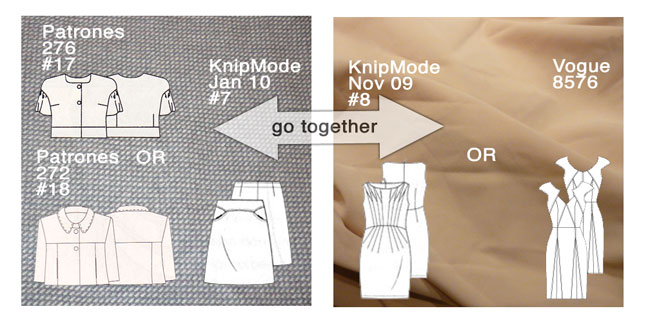
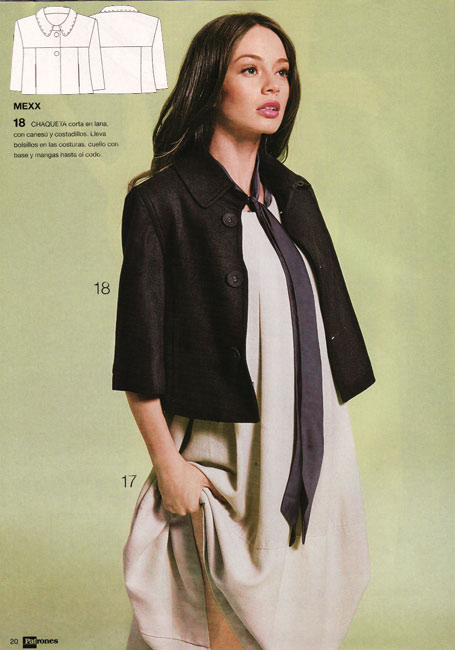
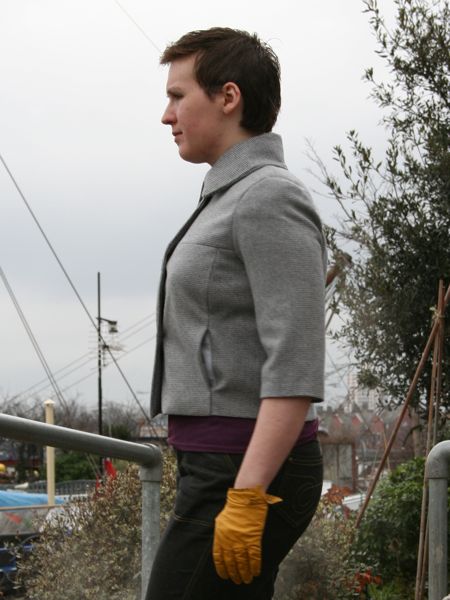
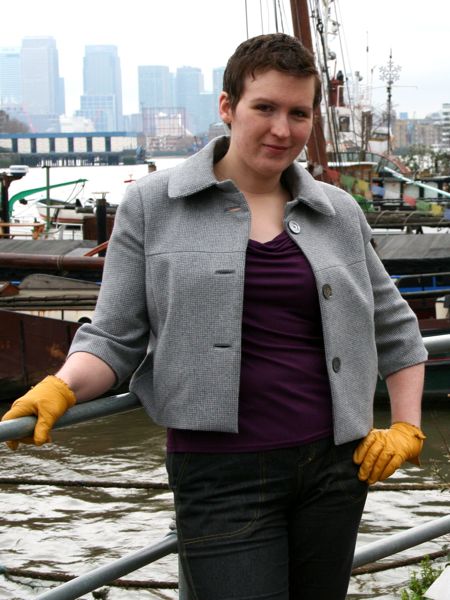
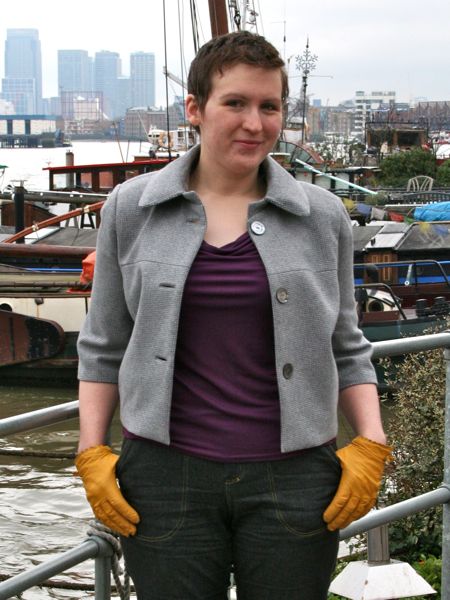
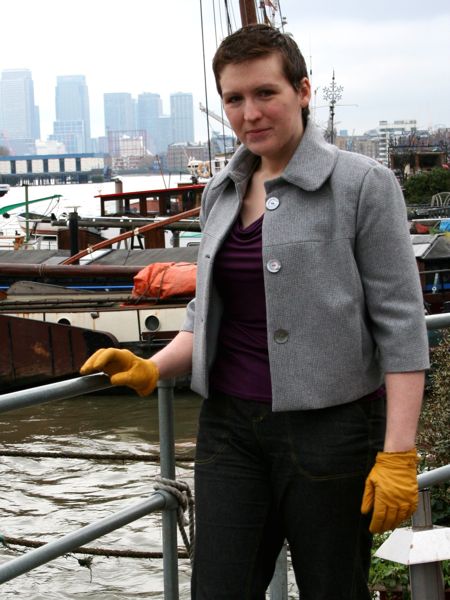
I decided to go with the bottom jacket seen above, so I traced all the pieces of it and the skirt pattern, playing it very carefully and was able to fit BOTH the cropped jacket and the skirt out of the 1.5m of tweed I’d bought! Woohoo! It was by no means certain, but my powers of fabric Tetris prevailed and I’m rather proud.

So I’ll be making jacket #18 from Patrones 272, and skirt #7 from the January 2010 KnipMode. Both have pockets and both will be lined, and since the tweed loves to fray, there was a whole lotta Vilene H180 fusing going on!

After a marathon session of lining cutting, interface cutting, interface fusing, and bias tape fusing today, I thought I’d get the difficult stuff out of the way first and do the bound buttonholes:

Once again I used the brilliant instructions from the Dec 2008 Threads magazine and got perfectly formed bound buttonholes (these things get so much easier the more you do them!). Every time I do these, I think the 1/4” welts couldn’t possibly be big enough, but they are, and just come together like magic! I definitely think the secret is in fusing everything, taking the extra time to baste in “the ladder”, and also to be extremely meticulous when you’re sewing the welts on, as being one stitch length too long or too short can really make a difference.

Here’s one of them, with the grey/silver mother of pearl buttons I’ve chosen (hastily tacked on with basting thread, I might add – it’s not staying red!)

As far as next steps go, I think I’m going to start first with the jacket lining. It’s less integrated with the construction than the skirt’s lining, and in general linings always bore me so best get that over with first before the fun stuff (that, and you can try on the lining to check the fit, too).

tags: , , , ,

Comments:

  1. Very professional. (Also, I like the red — spunky.)


    — Sharon    Jan 31, 10:50 PM    #
  2. Wow, you do have those buttonholes down to a fine art! Looking forward to seeing the finished outfit, its such a good idea to work with matching pairs. Loved the last outfit too.


    — Sandra V    Jan 31, 11:58 PM    #
  3. Lovely. I like that jacket better.


    Nancy K    Feb 1, 12:44 AM    #
  4. Melissa are you fusing the whole of the jacket and skirt ? I ask this as a beginner by the way , its not a critisism. I made a wool coat in the Winter and think I should of fused the entire thing in hindsight.


    Lisa    Feb 1, 04:00 PM    #
  5. All those prep steps are so boring. But once you get through them the fun begins! Fabulous looking buttonholes.


    The Slapdash Sewist    Feb 1, 06:56 PM    #
  6. Damn, where IS that buttonhole??!!! Nice job. BTW your blog has inspired me to resume my lapsed subscription to BWOF (Burda Style now, apparently, so it’s… BS?). Might as well – good sewing vibe here in Portland OR. Thanks!


    — Kate    Feb 5, 09:45 PM    #

Add a comment:

  Textile Help